Back to Event Manager Main Menu
Customizable Event Form Setup
The event request forms your organization uses can be customized according to what each site needs.
Watch the video tutorial

To access the Event Request Forms page:
- Log on to the Event Manager application.
- Navigate to Dashboard > Settings.
- On the Advanced Settings tile, click the Event Request Forms option.
Creating an Event Form
- Click on the Create a Form button.
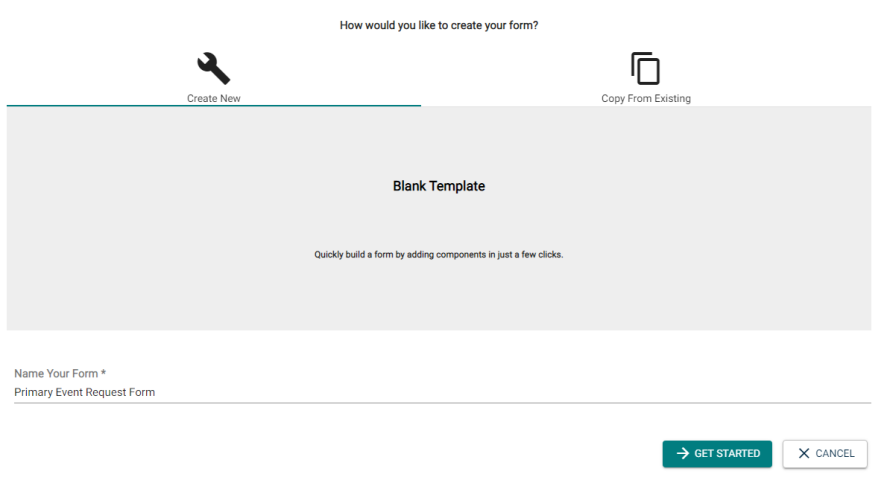
- Choose from one of the following options:
- Create New: Create a brand new event form from scratch.
- Copy From Existing: Use an existing event form as a starting point and make any changes needed before saving.
- Enter a name for the event form, then click Get Started.
Form Settings
- Click on the Form Settings button to make customizations to the Form Header, Thank You Message, Pending Event settings, and Logo for this event form.
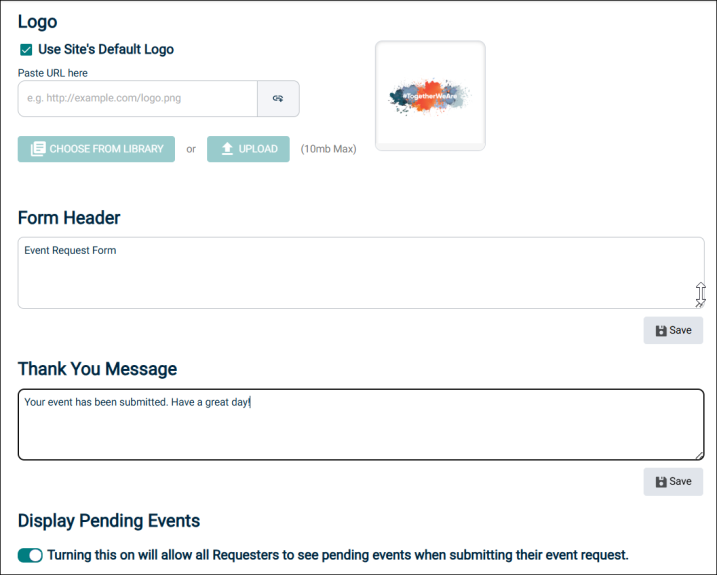
- In the Logo section:
- Optionally, select the Use Site's Default Logo check box to display the default logo on the event form.
- To insert a logo from a URL, enter the path in the Paste URL here text box and click the icon on the right.
- To insert the logo from the media library, click Choose From Library and select the file.
- To manually upload a file that is on your machine, click the Upload button and select the file.
NOTE Selecting this check box disables all other available options for uploading a logo.
NOTE The acceptable file types are .png, .jpeg, and .svg. The maximum file size can be 10MB.
- In the Form Header section text box, enter the text for the Event Request form header. After making the changes, click Save. Drag the three lines on the bottom right of the text box to increase the size for entering more text.
- In the Thank You Message section text box, enter the text that displays when a requester submits an event. After making the changes, click Save.
- In the Display Pending Events section, turn on the Turning this on will allow all Requesters to see pending events when submitting their event request toggle to enable requesters to view pending events in the date and time selected on the event request form. After making teh changes, click Save.
NOTE Drag the three lines on the bottom right of the text box to increase the size for entering more text.
NOTE Drag the three lines on the bottom right of the text box to increase the size for entering more text.
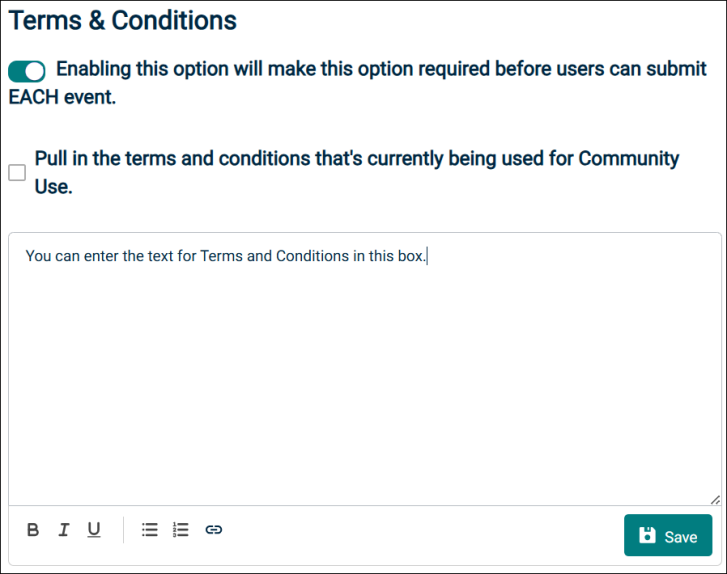
- In the Terms & Conditions section, turn on the Enabling this option will make this option required before users can submit Each event toggle. This will make it mandatory to select the I agree to the terms and conditions before submitting any event for approval.
To agree to the terms and conditions, do one of the following:- Select the I agree to the terms and conditions check box.
- Click the Terms and Conditions link and then click I agree.
- To insert the terms and conditions currently in use on the Community Portal into the terms and conditions section, select the Pull in the terms and conditions that's currently being used for Community Use check box. When this check box is selected, the terms and conditions become uneditable. To make edits, clear the check box so that you can make changes and then click Save.
- Click Save.
- Click Save at the bottom of the page to finalize any changes you have made to the form settings.
NOTE When you select the above check box, the content from the community portal overwrite any existing content in the terms and conditions text box.
NOTE When you click Save at the bottom of the Form Settings page, only then the changes are saved to the backend database and will reflect on the event forms that you create in future as a requester.
Adding form components
- If you copied an existing event form, all components that were included on that form will show on the screen. If you chose to create a new event form, only the required components of Event Details and Location & Time will show here.
- To add a new component to the form, click on the component in the list to the left and drag it to the appropriate place on the event form.

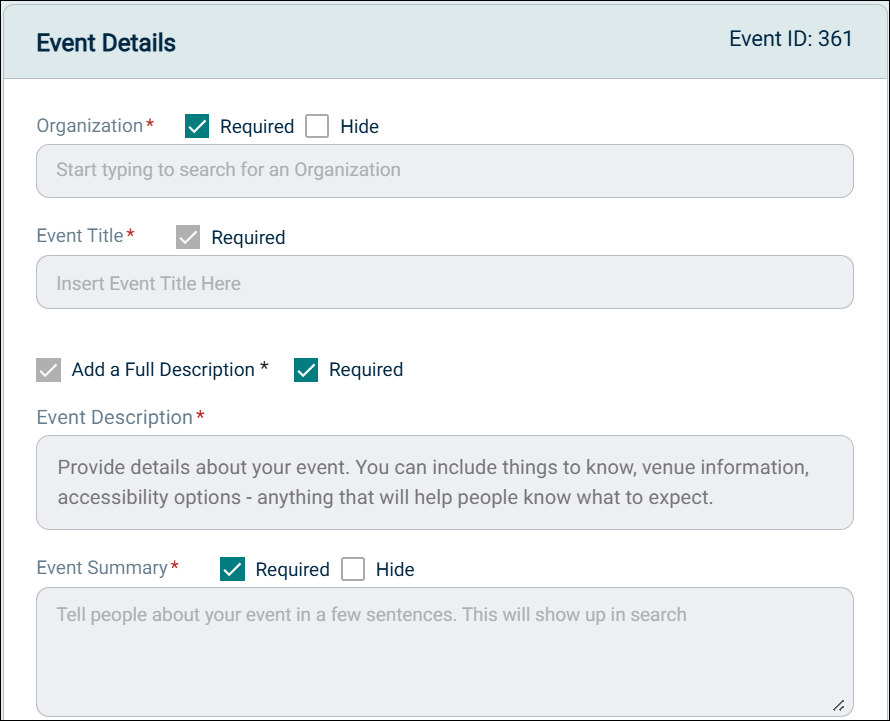
The Event Details section provides essential information about the event including Organization, Title, Description, and Summary. This is a required component on any event form.
NOTE It is important to note that tenant administrators are authorized to make changes detailed in this section to control the display of event request forms shown to requestors.
-
Event Description

-
When the Required check box is selected, the Event Description box is displayed and the Add a Full Description check box is not displayed
-
When Add a Full Description check box is selected and the Required check box is cleared, the Event Description box is displayed. The Add a Full Description check box is also shown as selected.
-
When both Add a Full Description and Required check boxes are cleared, then the Event Description box is not displayed. The Add a Full Description check box is displayed as cleared. You can select the Add a Full Description check box to display the Event Description box.
-
-
The Required check box is provided for selection to make it mandatory to provide Organization, Event Description, and Event Summary information on the event request form shown to requestors.
-
The Event Title is a mandatory field and the Required check box next to it is always selected and grayed out.
-
Event Description and Event Summary boxes can be expanded by dragging the three lines on the bottom right corner of the text box.
-
The Event Summary text box accepts a maximum of 300 characters. A counter is provided that shows the updated count dynamically as you add and delete characters
-
On the Event Request form, when the tenant administrator selects the Required check box for a field, the red asterisk symbol is displayed. It is shown both to the administrator as well on the actual form that is filled by the requestor.
-
For Organization and Event Summary fields, if the tenant administrator selects the Hide check box; then those fields are not shown on the actual Event Request form shown to the requestors.
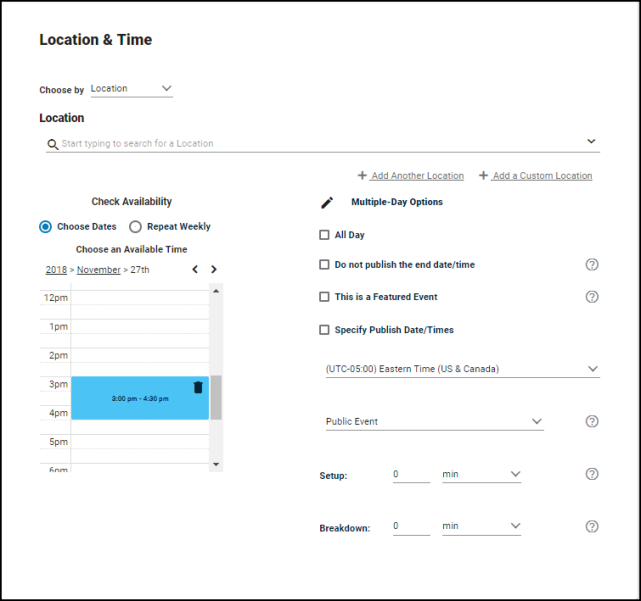
This is a required component on any event form. The user can choose to search by location, or search by the date and time needed.
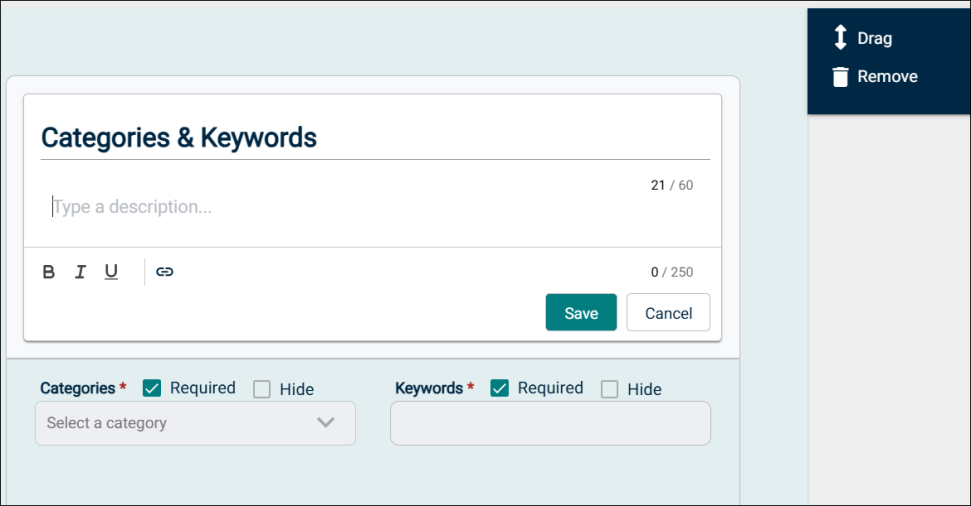
Tenant administrators can customize the Categories and Keyword section depending on the requirement of the site to which the event request form will be assigned. There are useful options that can be selected to enhance the user experience. Providing an option to select a Category or specify a Keyword helps users when they are searching for an event.
Important Points:
-
The Categories and Keywords section has an editable header and an option to add a description. A helpful editor with options such as Bold, Italics, and Underline is also provided.
-
Both the Categories dropdown list and Keywords box have a Required check box. When it is selected, it will become mandatory to select a Category and Keyword on the actual event request form. This is applicable to both requestor and admin.
-
Both the Categories dropdown list and Keywords box have a Hide check box. When it is selected, it will hide these fields on the actual event request form.
-
There is an option to remove the section or move it up or down on the form by selecting the Remove or Drag option that is displayed.
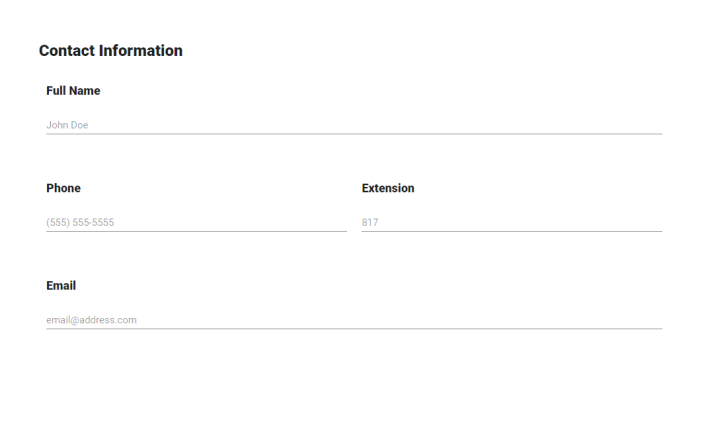
This component allows a user to enter information for the point of contact for an event.
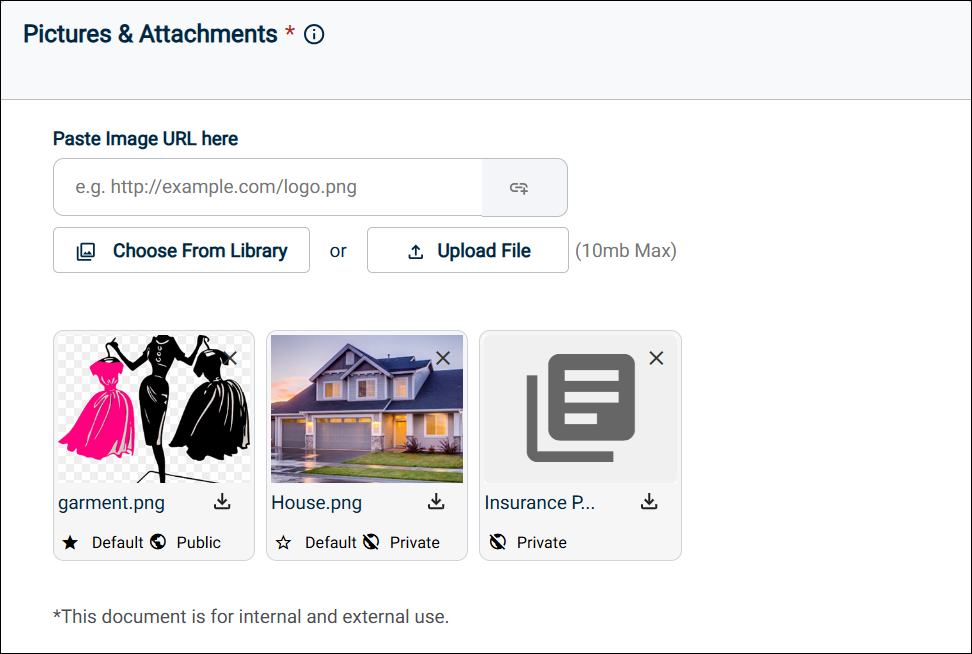
If this component is included on the event form, a user can attach an image or a document to the event form.
This component is revamped with a new look and feel to make it easy to use the event request form. The Choose From Library and Upload File buttons are added. The Paste Image URL here box is also introduced.
There are three ways by which you can upload an attachment to the event form:
-
Paste Image URL here: Enter a URL and click the button to attach an image from an external source. Till the time a URL is not entered, the button remains disabled.
-
Choose From Library: Select a file from the media library and upload to the event form. You can select multiple files and attach them.
-
Upload File: Select a file from your local computer and upload to the event form. You can attach multiple files but at a time only a single file can be attached.
NOTE The Paste Image URL here option is used only for uploading an image file, whereas, the other two can be used for uploading an image or a document file.
-
When a file is attached, a thumbnail image appears on the page. You can click the respective icons on the thumbnail to delete or download the file.
-
Default selection: You can click the Default icon on an uploaded image file (not documents) so that the image appears on the public calendar. At a time only one image can be used as the default image.
-
Public / Private toggle: Click the icon to make an image or document as Public or Private depending on your requirement. The Default image for an event is always set as Public. Attachments that are marked as public are displayed on the public calendar.
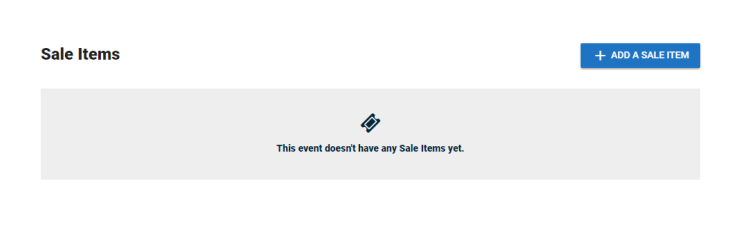
This component allows a user to attach a sale item or registration to the event.
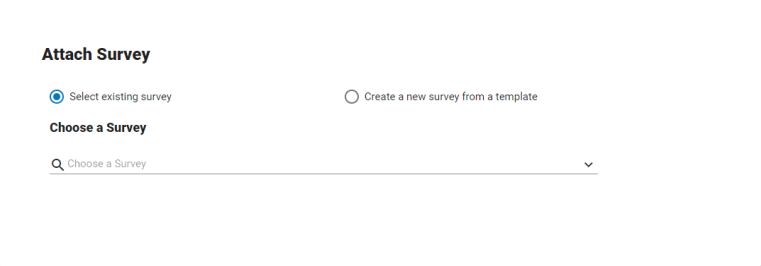
This will allow a user to attach a survey to the event. They can select the specific survey as well as determine when the survey should be active.
This will allow a user to add insurance to the event. They can choose to use their organization's insurance information or enter custom insurance information. You can make this component required to submit an event. Additionally, you can make uploading an insurance document required, if needed.
The Insurance section is redesigned with a fresh look and feel and is more user friendly. The section is broadly divided into two tabs: Use Organization Insurance Info and Custom.
NOTE The revamped insurance section is available when you are trying to create, edit, or duplicate an event. It is also available at the time of creating a review event in read-only mode.
The Use Organization's Insurance Info tab is activated only after an Organization is selected in the Event Details section. When you select this tab, the insurance information from the organization is auto populated in the fields. You can select the Custom tab to edit the Organization insurance details or enter your own values in the respective fields.
In the Insurance Document section, you can provide an insurance document. Either you can upload it from your computer or drag and drop it in the space provided. Next to the document, you can click the respective icons to download or delete it.
Refer to the following screenshot.

This will allow a user to add tasks to the event. They will be able to define the details of the task, such as the task type, who it is assigned to, and when it needs to be completed.

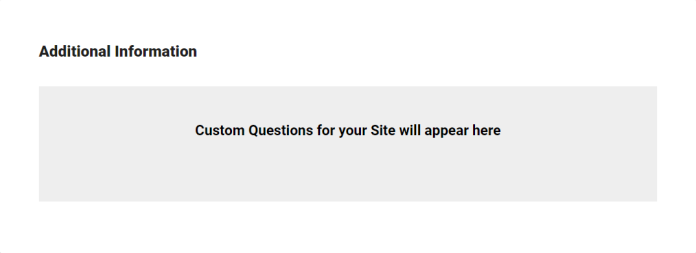
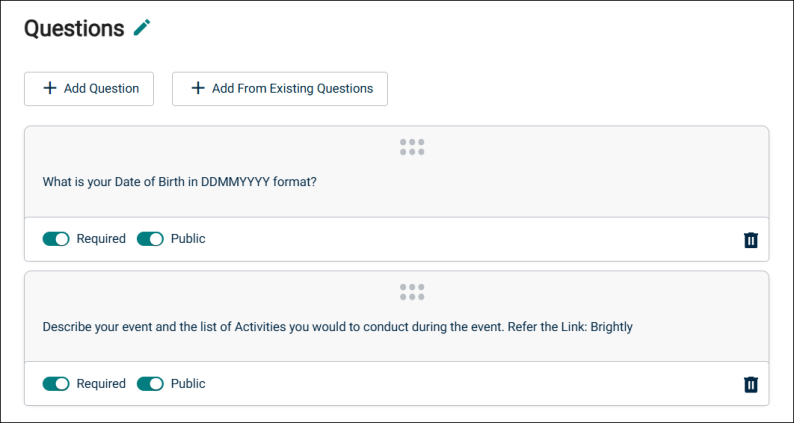
This component enables a user to add questions to the event request form that are presented to the requestor. You can add either new questions or questions from existing questions. You can also create a supplementary question based on the answer to a question. You can change the heading of the Questions section and optionally add a description as well.
-
To add a new question, click Add Question. For detailed instructions click here.
-
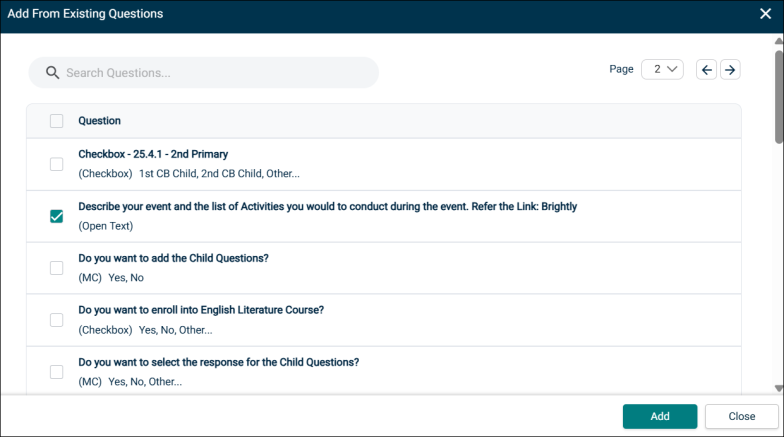
To add a question from exiting questions, click Add From Exiting Questions.
Adding a Supplementary Question
A supplementary question is a question that appears based on the response that is received for a particular question. This can be created only in case of Check Box and Multiple Choice type questions. You can create a supplementary question for all the answer options or only some of them.
To create a supplementary question:
-
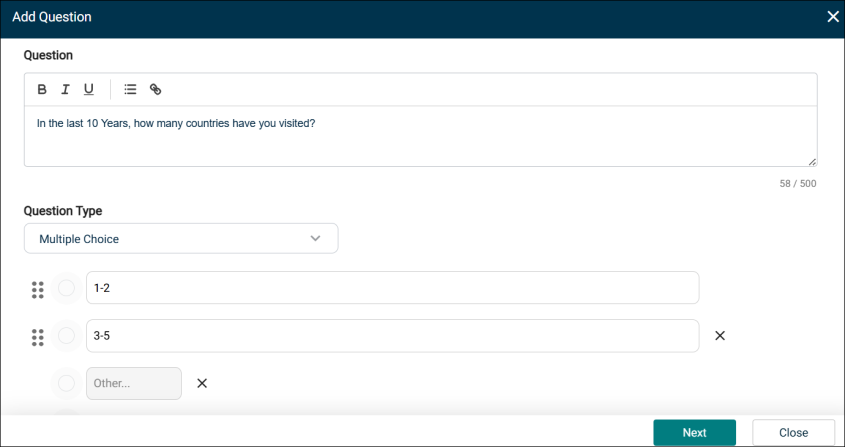
In the Questions section, click Add Question.
NOTE Click Add From Existing Questions to create a question from an existing question. Ensure that the existing question is of Multiple Choice or Check Box type only.
-
On the Add Question popup, enter the question text in the box.
-
From the Question Type dropdown list, select Multiple Choice.
-
Click Next.
-
Select the check boxes for the forms to which the question should be assigned.
-
Click Add.
-
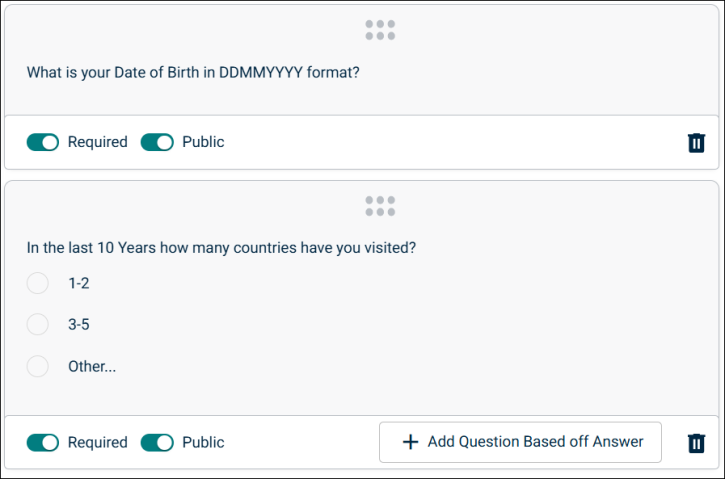
On the Event Request form, select Add Question Based off Answer.
-
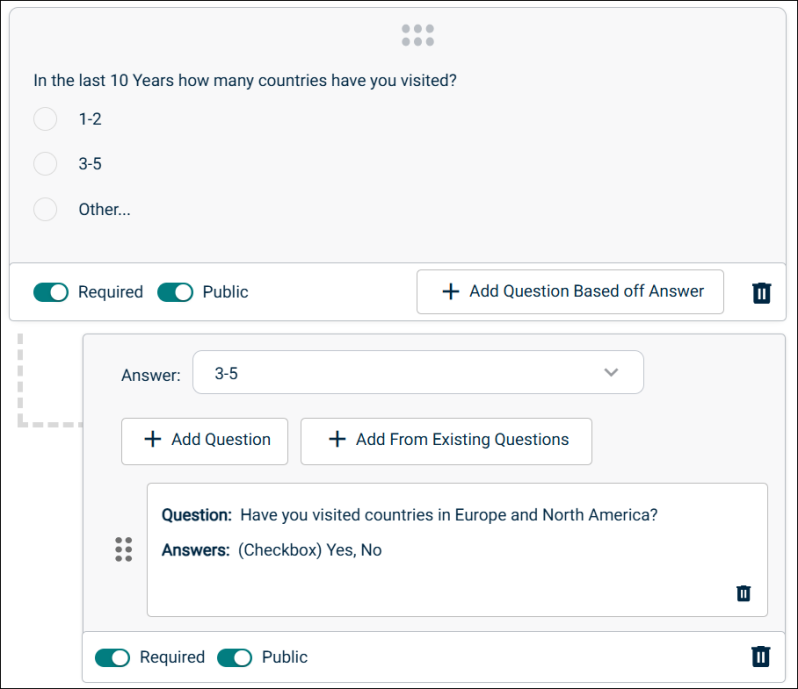
From the Answer dropdown list, select the option based on which a supplementary question has to be created.
-
Follow the steps explained above to create a supplementary question using the Add Question or Add From Existing Questions option.
NOTE You can create multiple supplementary question for an answer option. The same steps need to be repeated to create a supplementary question for other answer options.
-
Click Save.
NOTE Event Manager allows only a single level of nesting for supplementary questions.
Important Points
-
To make it mandatory for a user to answer a parent or supplementary questions, select the Required toggle.
-
To display the a parent or supplementary question on the public calendar, select the Public toggle.
-
To delete a question from the form, select the recycle bin icon.
-
For a Parent-Child question, when you click the recycle bin icon at the bottom right, both the parent and supplementary questions are deleted.
-
To adjust the order of the questions, you can click and drag the icon resembling six dots.
-
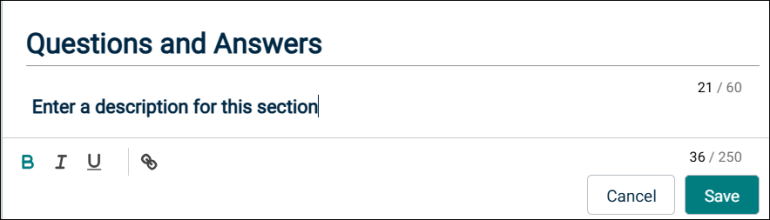
To change the title of the Questions section and optionally add a description, click the pencil icon. After making the changes, click Save.
-
The heading for the Question section can be up to 60 characters in length and the description for the section can be up to 250 characters in length.
NOTE In order to use the form for creating events, it must be assigned to one or more sites for the tenant.
- The components can be reordered or removed from the form by hovering over the component and selecting Drag or Remove.
- Click Save to add this event form to the list of forms.
NOTE In order to use the form for creating events, it must be assigned to one or more sites for the tenant.
Managing event forms
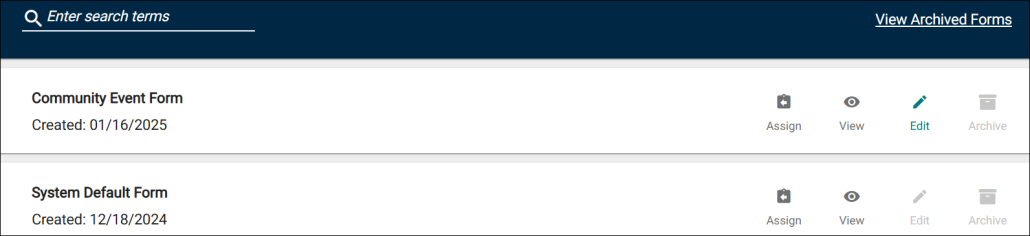
The Event Request Forms page displays any event forms that have been created.
- Assign: Click here to assign this event form to the appropriate sites.
- View: Click here to view the public facing event form.
- Edit: Click here to edit the event form. The System Default Form is not editable, but any form that has been added to your account can be edited at any time.
- Archive: Archiving an event form will remove it from this event form list, make it unavailable for use, and remove it from the list of event forms available to copy when creating a new event form.
- To access archived event forms, click the View Archived Forms link at the top of the event forms list. An archived form can be restored at any time.
- To access archived event forms, click the View Archived Forms link at the top of the event forms list. An archived form can be restored at any time.
- The components can be reordered or removed from the form by hovering over the component and selecting Drag or Remove.
- Click Save to add this event form to the list of forms.
NOTE For this form to be used at a particular site, it must be assigned to the site from the Event Request Forms list.
