Adding virtual and general assets
On the Project Builder main page, all the project names in the Project Name column are click-able. You can view details regarding any project. If the project is unlocked, with an open lock icon in the Locked? column, you can go on and make changes to the project details. One of the things that you can do to make changes to a project is adding virtual and general assets to a project.
-
Virtual asset refers to an asset that is not part of the asset inventory in Origin, however, it impacts the project cost. For example, an air handling unit is tied to a project and needs valve replacement. To factor in the cost of the new valve into the project, you can use the Add virtual asset feature.
How to add a virtual asset to a project
-
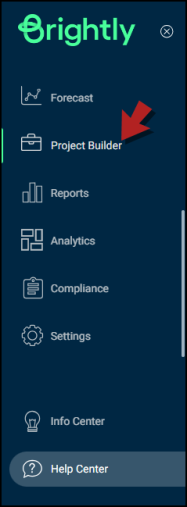
Go to the Project Builder section by clicking on Project Builder from the left navigation panel.
-
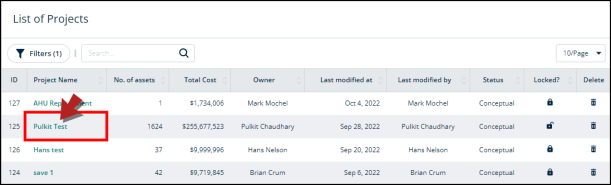
In the Project Name column, click on the project you need to add a general asset to.
-
You'll be directed to a page containing the project's details.
-
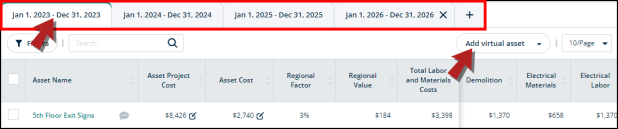
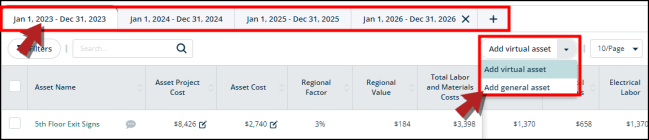
Keep scrolling down this page and you'll find year tabs with a list of assets in this project.
-
Switch to the required year tab.
-
Click on the Add virtual asset button on the right side.
-
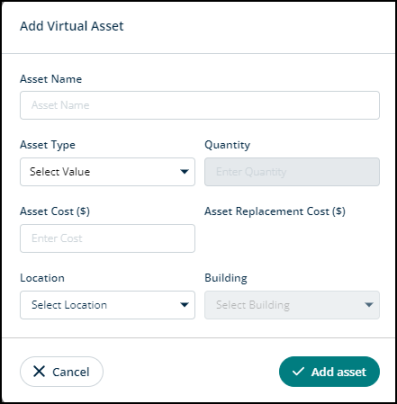
A modal will open.
-
In the Asset Name field, type in the name of the asset that you’re adding.
-
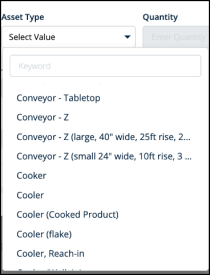
In the Asset Type field, click on the Select Value drop-down to select the asset’s type. For example, if it’s a cooling unit, or a device of sorts. You’ll find many categories here to choose from.
-
In the Quantity field, type in the number of assets. For example, you’re adding 3 microscopes.
-
In the Asset Cost field, enter the cost of this asset.
-
Once you provide the information about the asset type and its quantity, the information in Asset Cost and Asset Replacement Cost fields will automatically get populated.
-
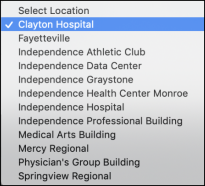
In the Location field, click on the Select Location drop-down to see all the facilities you have added to this account. Select the one that you want to add the asset to.
-
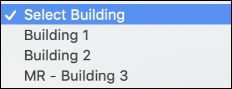
In the Building field, click on the Select Building drop-down to see the buildings of this facility. Choose the one where you want to add the asset.
-
Click on Add asset to proceed or Cancel to go back.
How to add a general asset to a project
To add a general asset to a project, follow steps 1-5 of the How to add a virtual asset to a project heading and then continue with the following steps:
-
Click on the Add virtual asset drop-down on the right side and select Add general asset.
-
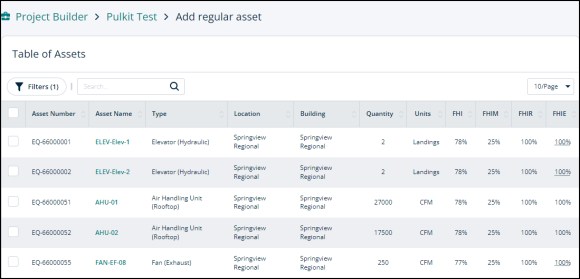
You'll be directed to Project Builder > Project Name > Add regular asset.
-
Here, you can see a list of assets.
-
Check the box next to the asset(s) that you want to add to the project.
-
Click the Add to project button at the bottom.

-
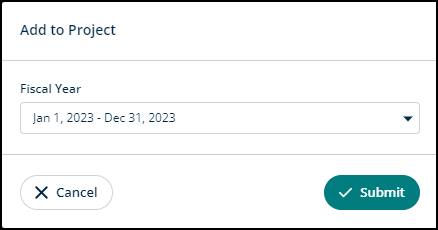
A modal will open.
-
Click on the Fiscal Year drop-down to select the year.
-
Click on Submit to add the assets to the project or Cancel to go back.
