Adding assets to a project
You can group different assets together and tie them to a same project. It allows you to assign the same work order for different assets in a project.
How to add asset(s) to a project
-
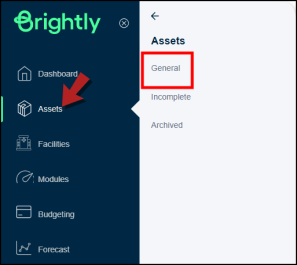
Click on Assets in the left navigation panel and select General.
-
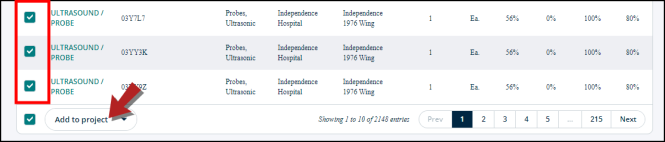
You'll see the Add to project button at the bottom of the Table of Assets.
-
Click the check-box next to the asset(s) you want to add to a project.
-
Click on the Add to project button.
-
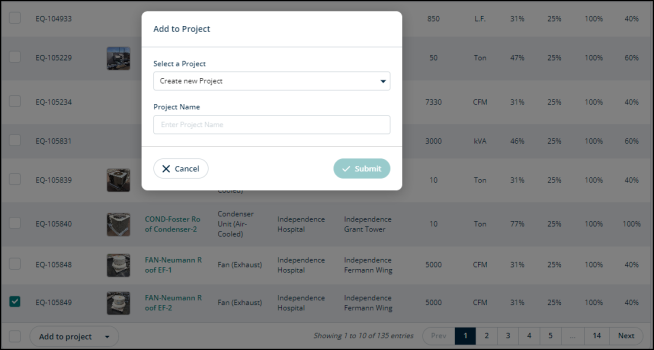
A modal will open.
-
In the Select a Project field, you can search for a project to add the asset(s) to. Or you can create a new one.
-
In the Project Name field, write the name of the project.
-
Click Submit to proceed or Cancel to go back.
Add to project drop-down menu
In addition to adding assets to a project, you can use the Add to project drop-down menu to export and/or archive assets.
Exporting assets
-
Check the boxes next to the asset(s) you want to export.
-
Click on the Add to project drop-down.
-
Click on Export asset.
-
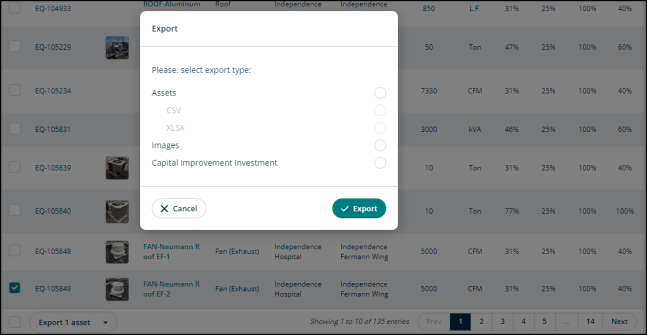
A modal will open.
-
Select the required fields and click Export to start exporting or Cancel to go back.
Archiving assets
-
Check the boxes next to the assets you want to archive.
-
Click on the Add to project drop-down menu and select Archive asset.
-
A confirmation modal will open.
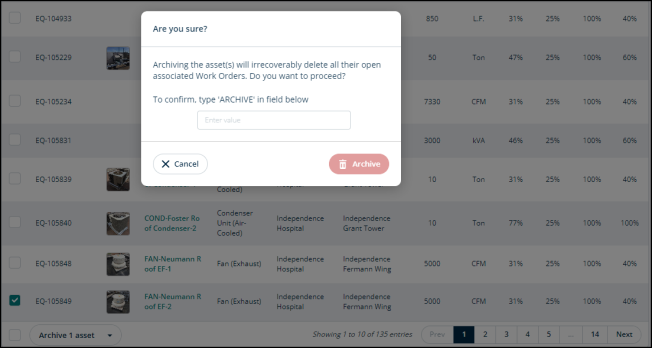
-
Type ARCHIVE in the Enter value field.
-
Click Archive to proceed or Cancel to go back.
