3scale API Gateway
3scale is an application that enables Event Manager (EvM) to efficiently expose, secure, and manage their API endpoints. It serves as a platform that handles tasks such as authentication, rate limiting, monitoring, and analytics for EvM. Clients can call the APIs to integrate their applications with EvM for automating tasks such as creating events. The exposed APIs enable them to use the functionality provided by EvM.
NOTE 3scale allows EvM to provide different plan options that define specific API usage limits.
Clients can securely access APIs using the API ID and API key provided by 3scale. Each time an API is called, the API ID and key has to be entered for authentication. The same API ID must be used on Event Manager while creating the integration configuration for using the exposed APIs.
NOTE 3scale provides the API id and key post account activation when you create an application for the first time.
To create an API Integration using Event Manager, you need to perform the following tasks.
NOTE Save your application ID and application Key displayed on the page for future use.
Once the above tasks are completed, we can log on to the Event Manager application to configure the API Integration. For more details, click here.
Creating a New 3scale Account
To create a account on the 3scale payment gateway:
-
Click the link that you have received for creating a 3scale account.
-
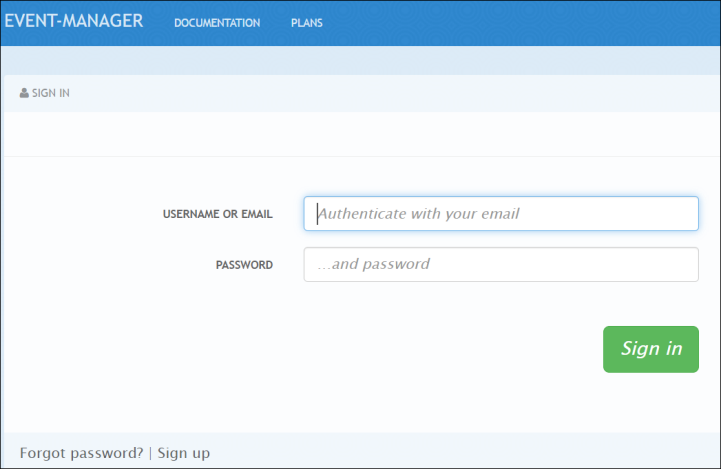
Click Sign In.
-
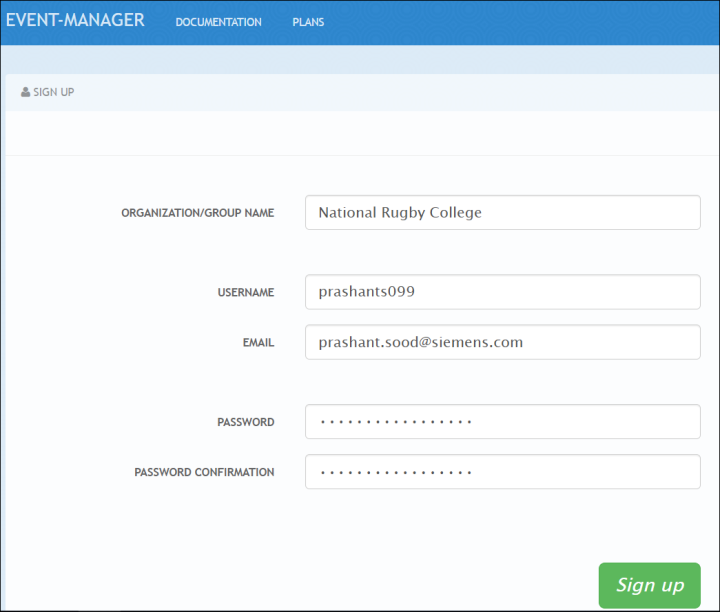
On the registration page, click Sign up.
-
Enter your basic details in the respective text boxes.
-
Organization/Group Name
-
Username
-
Email address
-
Password
-
-
Click Sign up.
-
Click the link in the account confirmation email to activate your account.
-
On the Sign in page, enter your username/email address and password in the respective text boxes.

-
Click Sign in.
-
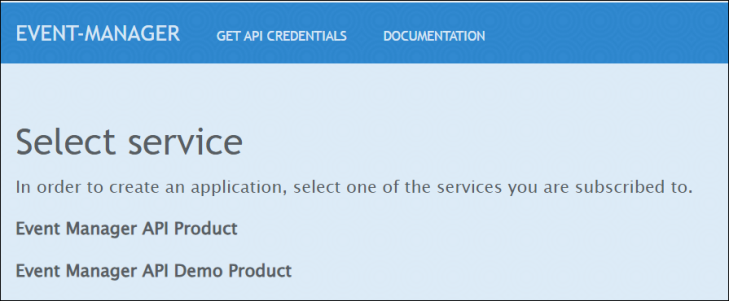
Select a service by clicking one of the two option.
NOTE To test the application before making it live on the product environment, select the Event Manager API Demo Product option.
-
On the New Application page, click Review/Change to select a plan.
-
In the Name field, enter the name that you want to use for the API Integration.
-
In the Description field, enter a description for the integration.

-
Click Create Application.
-
Save the Application ID and Application Key that is displayed on the screen. You will need them with each API request that you create.
NOTE On every subsequent login, the Application name, App ID, and App Key are displayed on the page after Key are displayed on the page post login.
Configuring the Integration in Event Manager
To enable clients to call exposed Event Manager (EvM) APIs using the 3scale API Gateway, the integration settings have to configured inside EvM. The API id and key provided by 3scale are added to EvM so that the APIs can be used securely and reliably.
To configure the integration settings:
-
Log on to EvM and navigate to Dashboard > Settings.
-
Click External Integrations.
NOTE The External Integrations option is available for creating the integration when the API Gateway module is enabled.
-
Under the API Configuration tab, click Add New Integration.
-
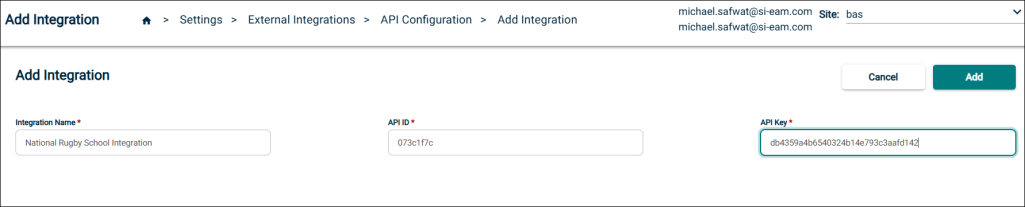
On the Add Integration page:
-
In the Integration Name field, provide a name for the Integration.
NOTE It is recommended to enter the name that was used when the application was created.
-
In the API ID field, enter the API ID that was provided by 3scale API gateway.
-
In the API Key field, enter the API key that was provided by 3scale API gateway.
NOTE It is imperative that the API ID and Key match the values provided by 3scale for the integration to be successful.
-
Click Add.
-
Important Points:
-
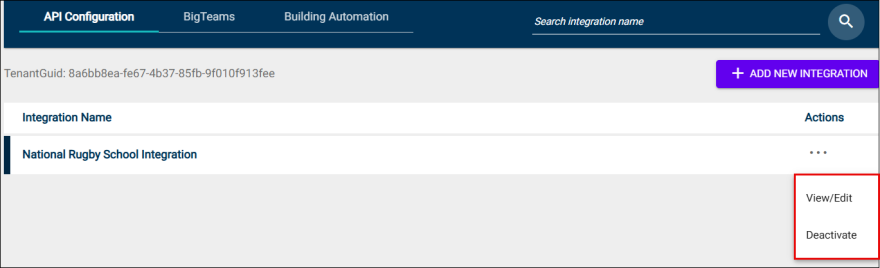
The integration is displayed under the API Configuration tab.
-
Under Actions, the following options are available:
-
View/Edit: Click to view the integration details under the Information tab.
NOTE You can copy the API ID or Key for future use.
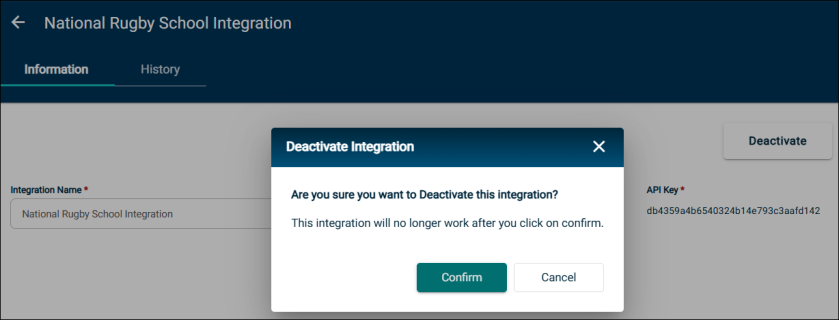
-
Deactivate: Click Deactivate and then click Confirm. A deactivated integration cannot be used again.
-
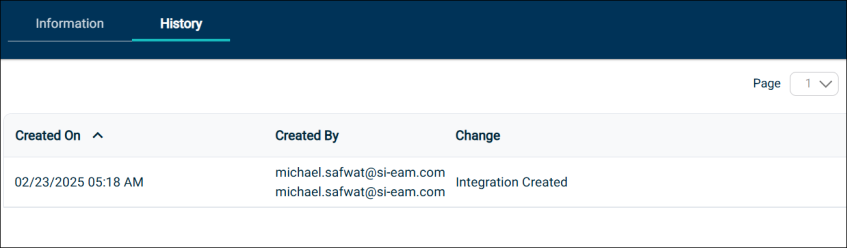
The History tab maintains a record of the integration history. It provides the date, time, and email address of the user who has created or deactivated the integration. Whenever a change is made, a new record is added under the History tab.
-
