Digital Compliance Binder
The Digital Compliance Binder is designed with default structures for The Joint Commission, DNV, or ACHC codes, enabling you to digitize your compliance documentation. Depending on the activated code set you chose within settings, it allows you to locate necessary documents quickly and confidently through work orders and attachments. You will also immediately know which codes lack critical documentation.
NOTE If you do not currently have this application, please contact your Sales Representative or Client Services for more information.
How to Use Digital Compliance Binder
-
From the main dashboard page, click on the Compliance menu icon in the left navigation bar.
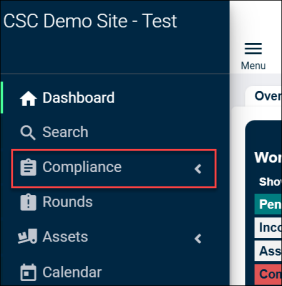
-
From the list of options, select Digital Binder.
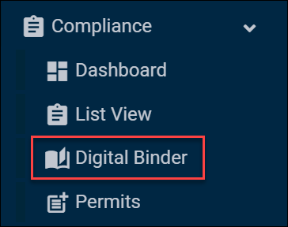
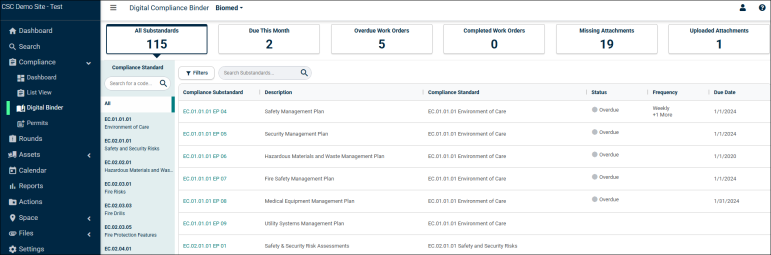
The Digital Binder will appear.
-
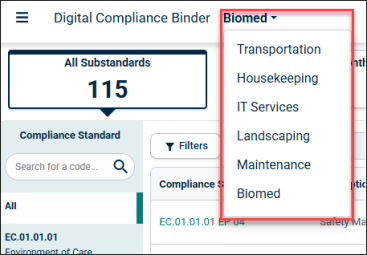
At the top of this indexing page, the department should be set to Maintenance.
-
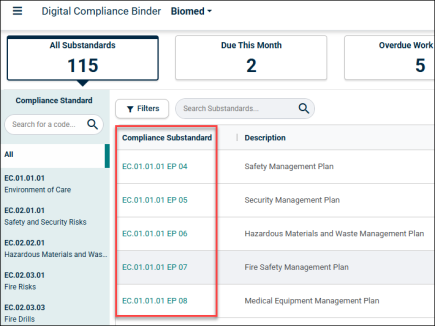
At the top of this indexing page, you can see the status of all Substandards , such as:
-
All Substandards
-
Due This Month: Represents all substandards that have work orders associated with a due date in the current month that have not been completed yet.
-
Overdue Work Orders: Represents all substandards that have work orders associated that have not been completed yet and have a due date that is overdue.
-
Completed Work Orders: Represents all substandards that have work orders associated with a completed date in the current month.
-
Missing Attachments: Represents all substandards where attachments are required that have attachment line items associated with no uploaded date and a due date that is overdue.
-
Uploaded Attachments: Represents all substandards that have attachments associated with an uploaded date in the current month.

-
-
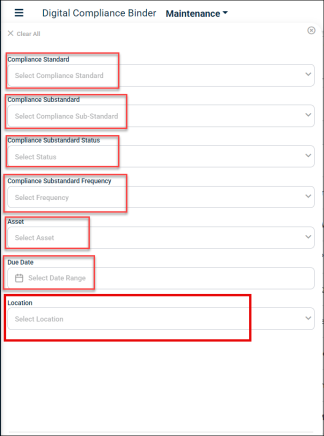
Below the status of the substandards, you can find the Filters option.

-
Filters option consists of the following filters:
-
Compliance Standard
-
Compliance Substandard
-
Compliance Substandard Status
-
Compliance Substandard Frequency
-
Asset
-
Due Date
-
Location
-
-
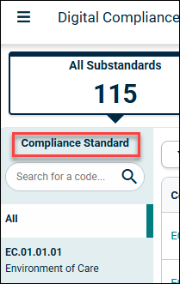
On the left-hand side, you will find a list of Compliance Standards. Click on any Compliance Standard based on your requirements. Once you click on a Compliance Standard, a list of Compliance Substandards, will appear.
-
Click on any Compliance Substandard.
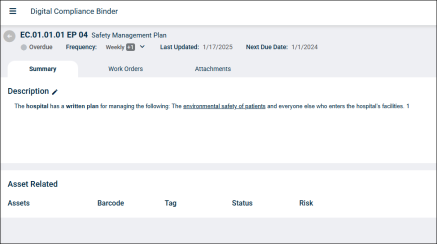
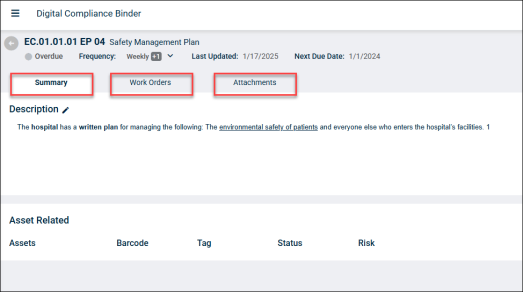
A new window will appear containing all information related to that particular Substandard.
-
At the top of the Substandard page, you will see the following information:
-
Status
-
Frequency
-
Last Updated
-
Next Due Date

-
-
Three tabs are available on the Substandard page:
-
Summary
-
Work Orders
-
Attachments
-
Summary Tab
-
Description: Provides a basic default description about the substandard from the corresponding regulatory agency. Users can edit the description based on their facility requirements.
-
Assets Related: Displays information about all the assets linked to the particular substandard.
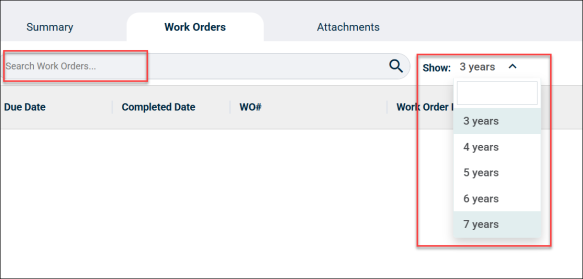
Work Orders Tab
-
This tab contains all related work orders associated with the EP. It provides information such as:
-
Due Date
-
Completed Date
-
WO#
-
Work Order Description
-
Location
-
Status
-
Assignee(s)
-
Completion Notes

-
-
Users can search Work Orders in the search box by assignee name or work order number as examples.
-
The past 3 years of work order data will be displayed by default. Users can choose to show up to seven years if needed.
-
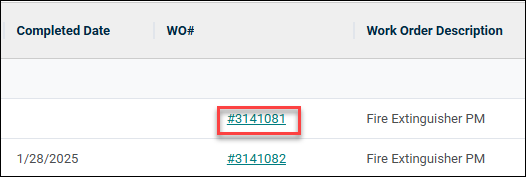
Click on a Work Order number to view the additional information related to the work order.
 .
. -
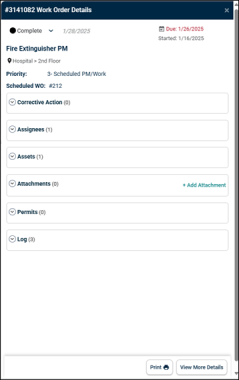
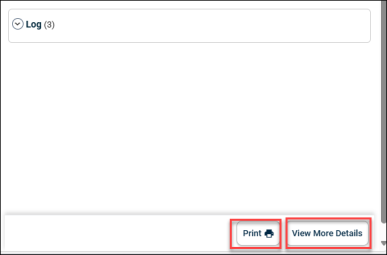
Clicking the work order number opens a side pop-up window with more details.
-
Print: Users can print the work order by clicking the Print button located at the bottom.
-
View More Details: View more details related to work order by clicking on View More Details button located at the bottom.
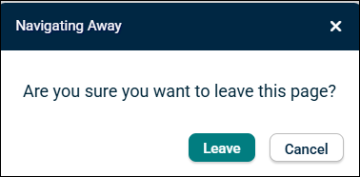
NOTE If users click View More Details, a new pop-up window will appear stating “Are you sure you want to leave this page?” Click Leave to leave the current page or Cancel to stay.
Attachments Tab
-
The Attachments tab allows users to upload compliance documents independent of work orders.
-
Users can track important compliance documents such as safety management plans, medical management plans, reports from vendors, etc.
-
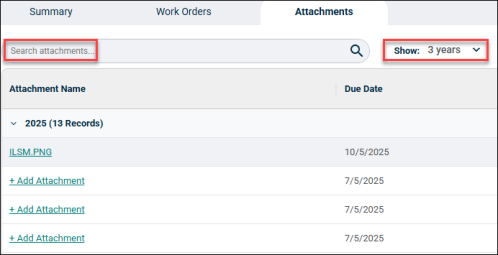
A search box allows users to search for documents by name.
-
The past 3 years of attachments data will be displayed by default. Users can choose to show up to seven years if needed.
-
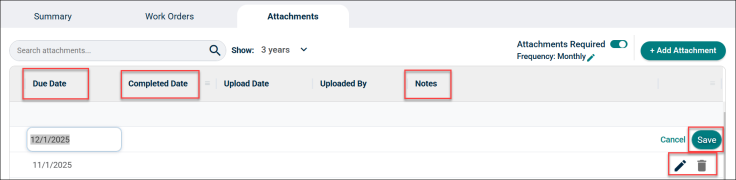
The tab includes information such as:
-
Attachment Name
-
Due Date
-
Completed Date
-
Upload Date
-
Uploaded By
-
Notes

-
-
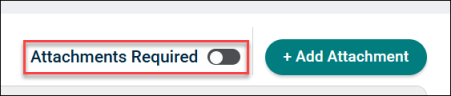
A toggle button for attachment reminders is available at the top right, which users can toggle on or off based on site requirements.
-
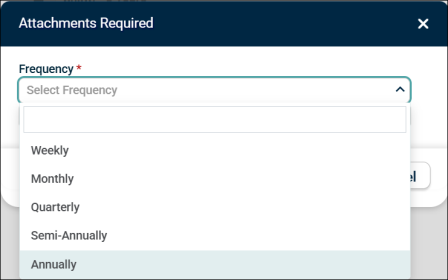
Once this setting is activated, a pop-up window titled “Attachments Required” appears, where users need to enter all required information.
-
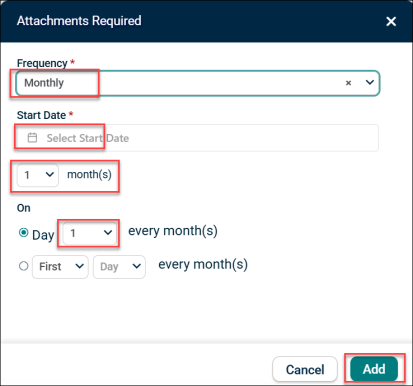
In the “Attachments Required” pop-up, perform the following:
-
Select the frequency in the Frequency dropdown list, for example (Weekly, Monthly, Quarterly, Semi-Annually, Annually).
-
Select a start date in the Start Date section to begin reminders.
-
Choose how many times the attachment needs to be uploaded
-
Select the specific day of each month for reminders in the Every Month(s) dropdown list.
-
-
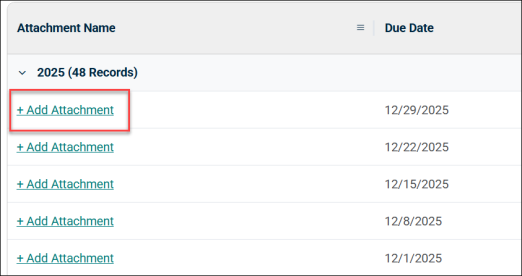
After entering all required fields, click Add. Once added, rows will be populated for the current year and the reminder setting is enabled and displayed with the due date as shown below.

-
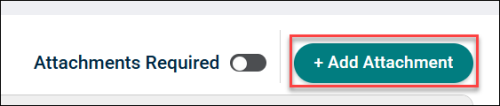
To add attachments, click the Add Attachment button.
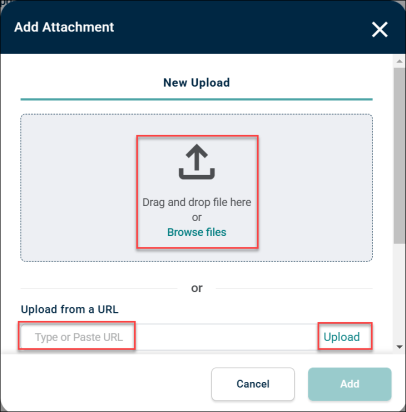
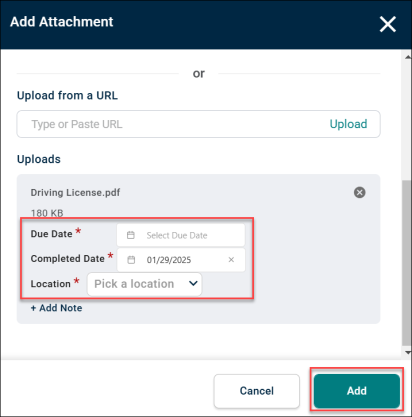
Once you click on the Add Attachment button, a pop-up window titled “Add Attachment” will appear.
-
Users can drag and drop the file or click Browse Files to upload from their local system.
-
Alternatively, enter a URL in the Upload from a URL section and click Upload.
-
Once a file is uploaded, a window will allow users to check and edit the Due Date and Completed Date, and Location.
-
After updating the dates, click Add at the bottom of the window.
-
To add attachments ad-hoc or one at a time if a frequency is not set, click on the Add Attachment button at the top right.
-
Users can edit or delete an attachment by clicking the pencil or delete icon.
-
Users can only edit or update the Due Date, Completed Date and Notes; the Uploaded date and Uploaded By fields remain fixed.
-
Once updates are complete, click Save to save the information.
Compliance Settings
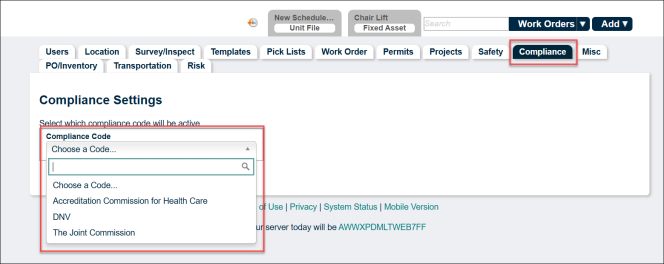
There are three types of compliance codes available to choose. The compliance code selected will be applied at the site level.
-
The Joint Commission
-
DNV
-
ACHC
The binder depends on which Compliance Code users have activated.
-
To activate your required Compliance Code, go to the Compliance tab, select the Compliance Code from the dropdown list, and click Save.
-
To access the Compliance tab, check the Compliance check box under the Users tab in the Settings dropdown list.
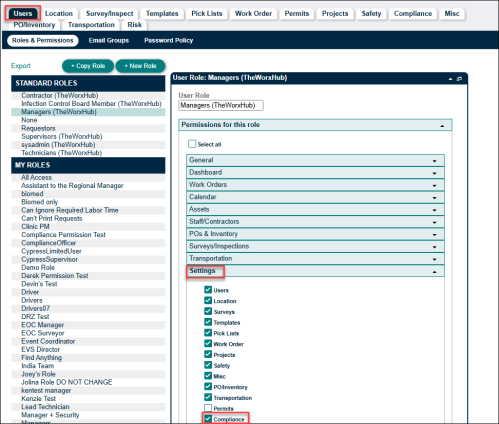
NOTE This is applicable to the users who are using non-TWH standard roles. For Sysadmin and Manager roles in Healthcare sites, this feature is enabled by default.
-
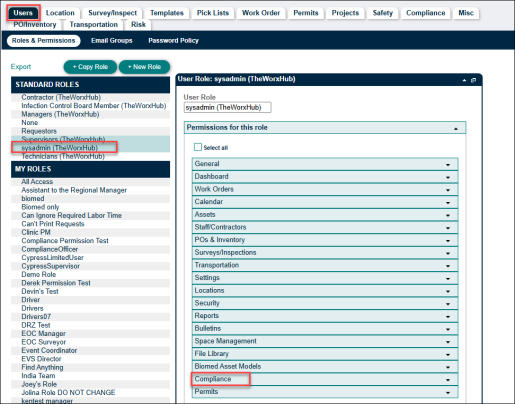
Sysadmin and Manager roles can change the compliance settings for certain people at their site.
-
To change the compliance settings, go to the Users tab, click on roles such as Sysadmin or Manager under the STANDARD ROLES section, then click on the Compliance dropdown list.
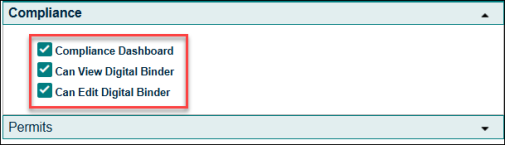
Inside the Compliance dropdown list, options include:
-
Compliance Dashboard
-
Can View Digital Binder
-
Can Edit Digital Binder
-
-
Compliance Dashboard: Check this checkbox to allow users to see the Compliance Dashboard.
-
Can View Digital Binder: Check this checkbox to give users rights to view the Digital Binder.
-
Can Edit Digital Binder: Check this checkbox to give users rights to edit the Digital Binder.
-
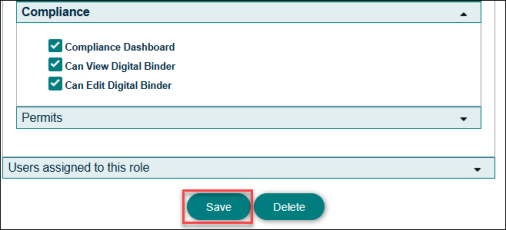
Once you are done updating the compliance permissions settings, click the Save button at the bottom of the page to save your changes.
The new Compliance Dashboard is mobile-responsive. The view may change as the placement of KPIs changes from screen resizing. It is, however, not a mobile application. Refer to our FAQ to learn more about the new Compliance section.
