Setting up a Work Plan
Objective: Gain an understanding of how to create and configure a Work Plan.
Follow these steps to create a Work Plan:
- Start ArcGIS Pro with a new or existing ArcGIS Pro Project. Generally, it is recommended that you start with a new ArcGIS Pro Project.
- Open Work Planner and log in. Work Planner should be accessible on the Add-In and the Analysis menus in ArcGIS Pro.
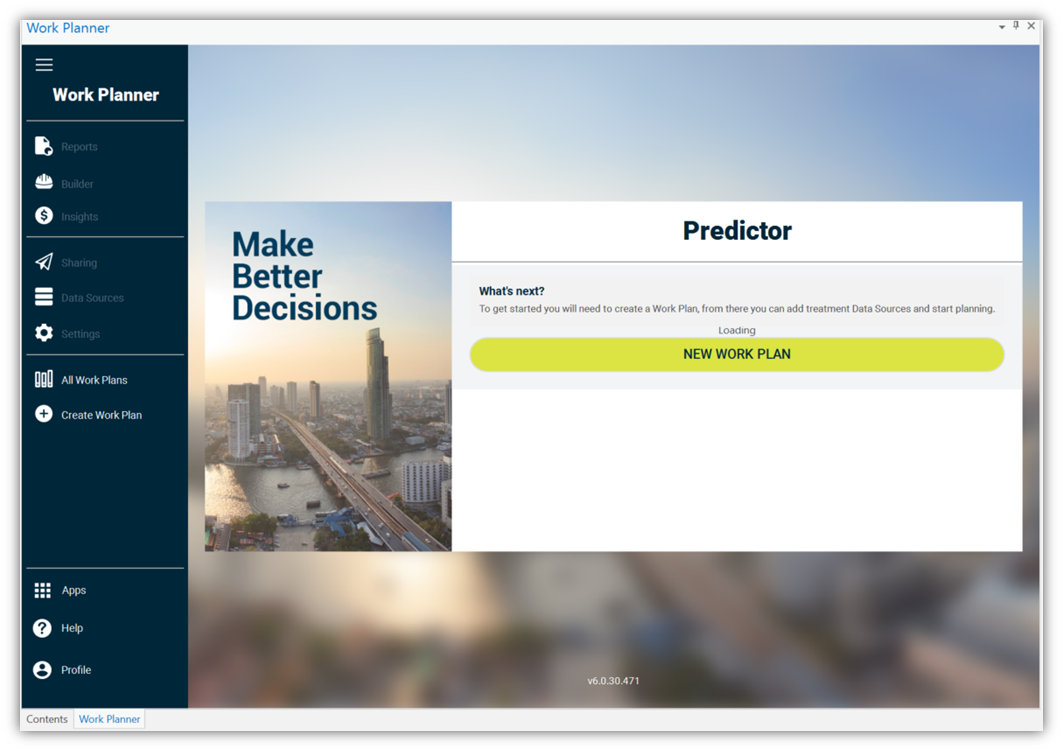
- When Work Planner first starts, select "New Work Plan" (below image). Alternatively, click on the "Create Work Plan" from the Work Planner menu on the left side of the Work Planner pane to create a Work Plan.
- The following pane will open. Provide the Work Plan with a name and description and choose the parent Portfolio where the Work Plan will be stored.
Note: The Work Plan is stored in the Predictor cloud environment within the parent Portfolio selected.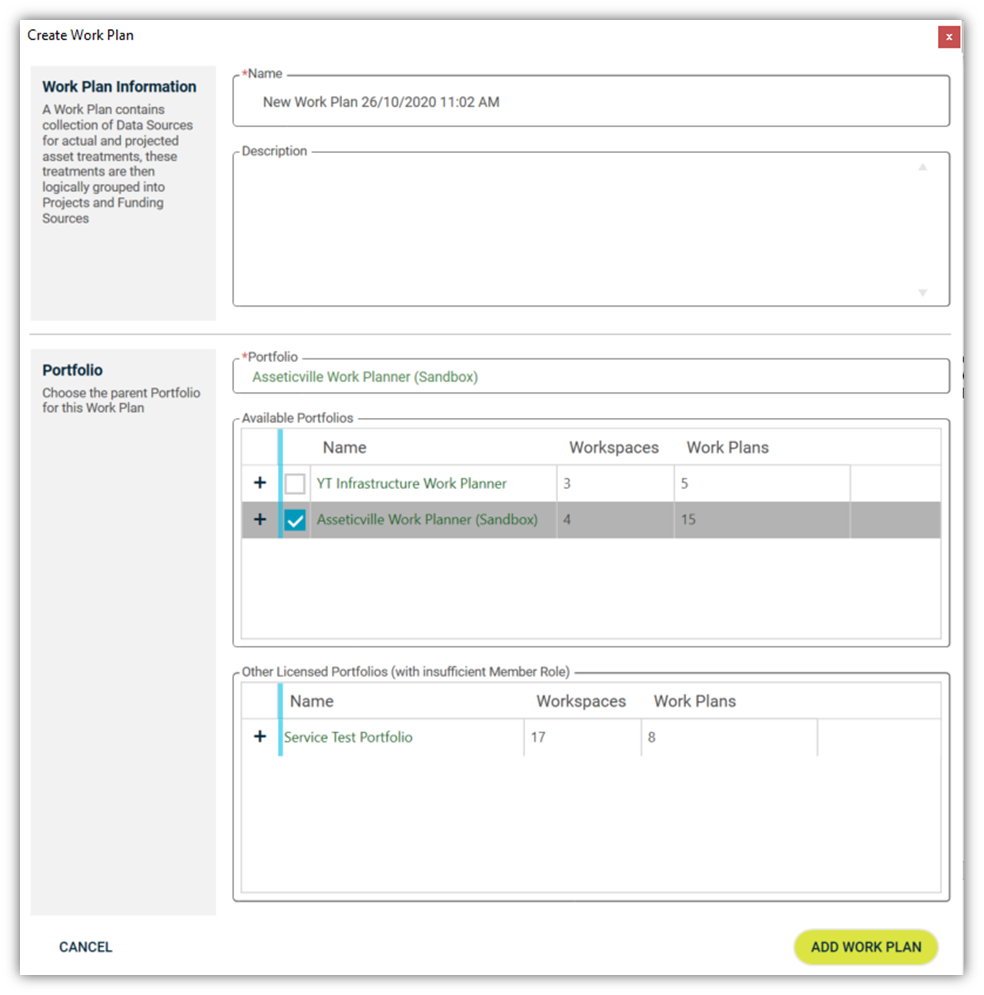
- Click on "ADD WORK PLAN" to create the Work Plan. This action will take you to the "Work Plan Data Sources" pane.
You can proceed to create data sources by importing simulations, or you may choose to configure the work plan first. For instruction on how to import data sources, please see the "Import Data Sources" article. For instruction on how to configure the work plan, please see the article called "Configuring Work Planner Settings".
