Create Projects
Objective: Gain an understanding of how to create projects using "Builder" and ArcGIS Pro functionalities.
Once data has been imported, users can navigate to the Work Planner Builder by clicking “Builder” in the top ribbon. Users can see all the individual line items from the dataset. Work Planning starts from here.

Create Project
Projects and phases need to be created before assets can be allocated to them. To create a project, click the “Projects” button on the top right corner. This launches the project panel.
Click “Add” at the bottom of the projects panel.

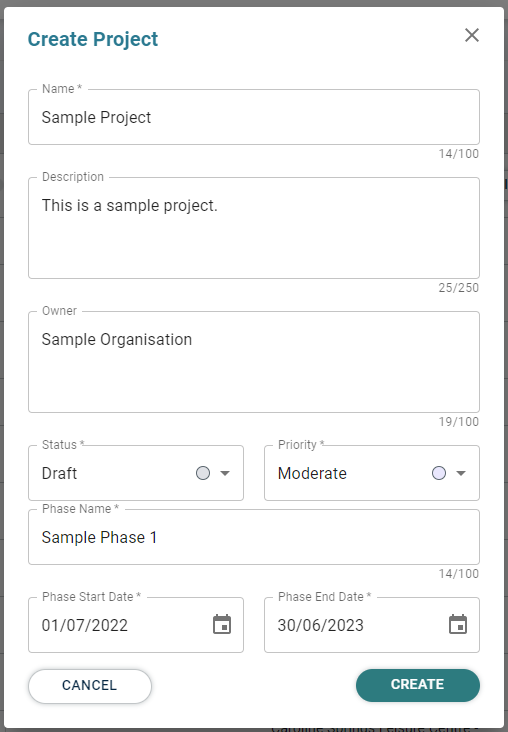
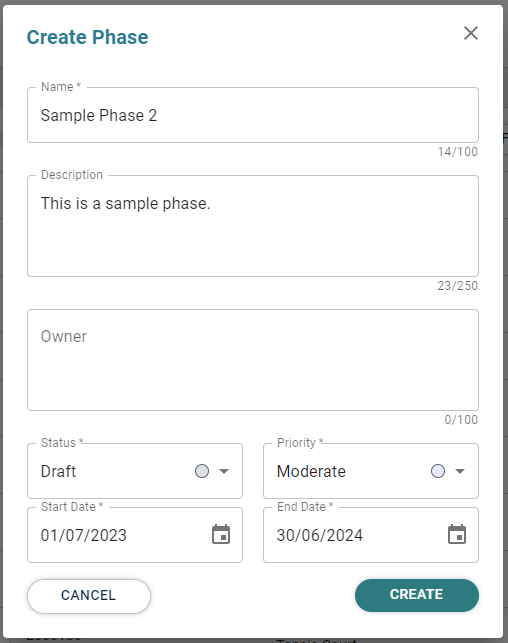
Enter the name of the project, description, owner, etc into the interface. A phase will also be created at this stage. Note the duration of a phase cannot be over one calendar year.
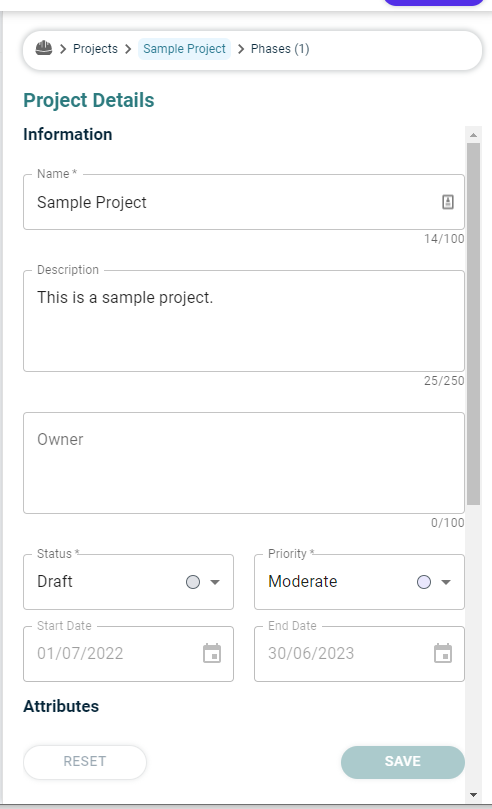
Once the Project is created, enter all relevant information including user-defined fields in the Projects panel. Click “Save” to avoid losing changes.
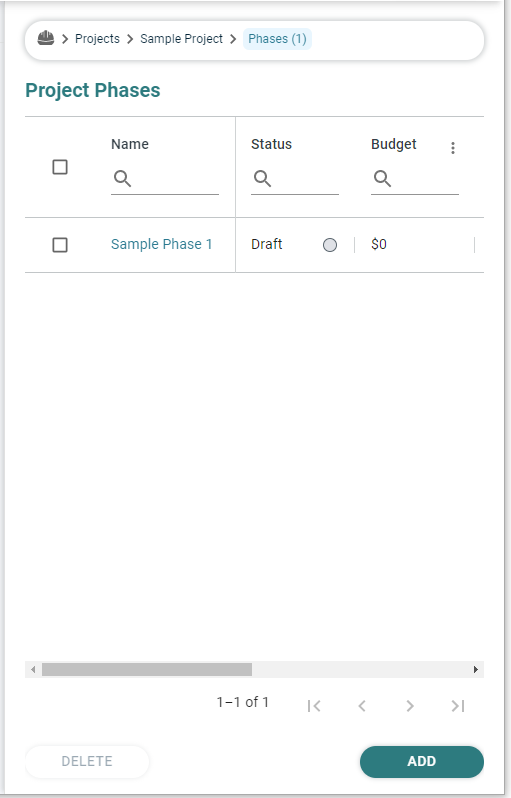
From the top of the Project panel, navigate to “Phases”. This should show all the phases of the current project. To add new phases, click “Add” from the bottom of the project panel.
Enter relevant phase information and click “Create”. This creates another phase in the current project.
Adding Treatments to a Phase
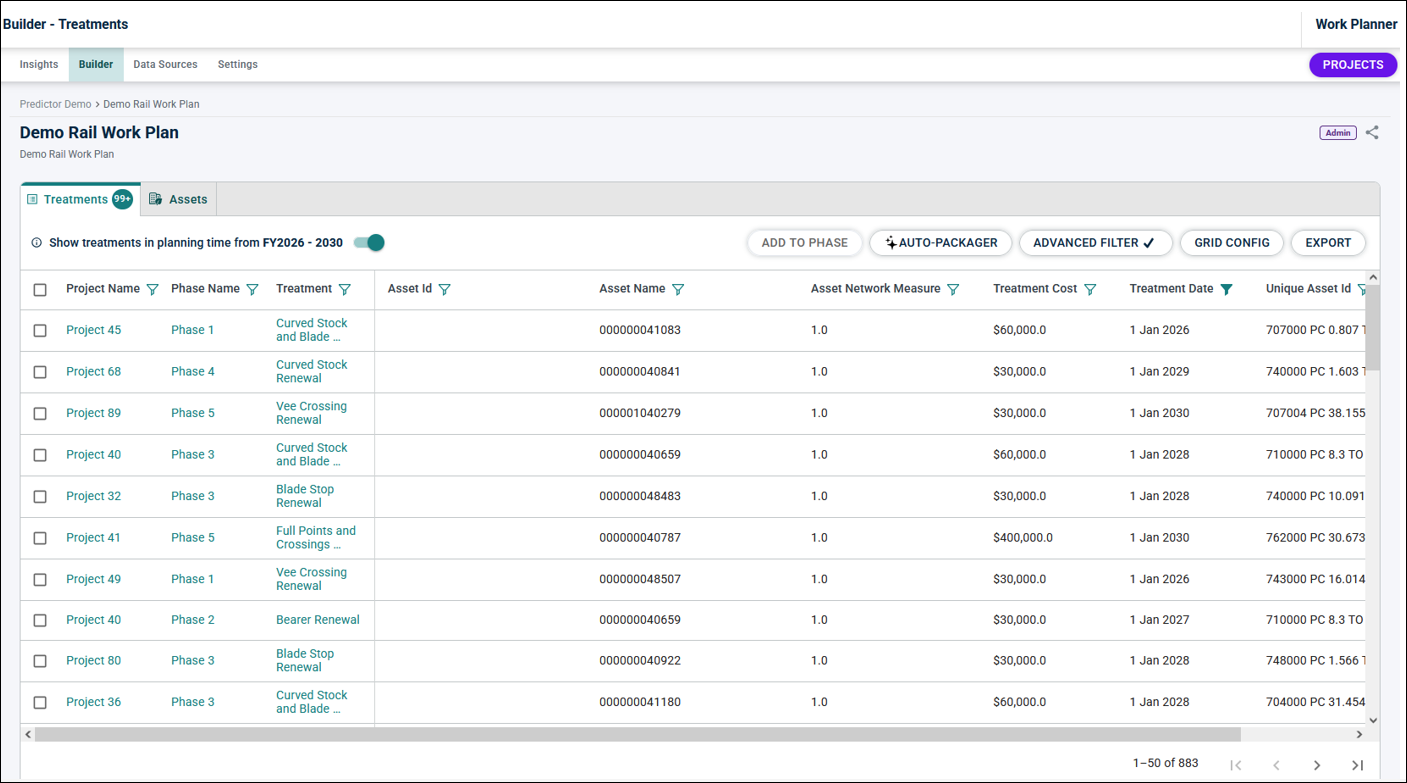
Treatments can be either added to Phases manually, or by using the Auto-packager tool (more details on how to use the Auto-packager can be found here).
To add Treatments to a Phase manually, ensure the correct Phase is displayed on the Project panel. On the left-hand side of the screen, select all Treatments that need to be grouped into the Phase using the filter on the top. For example, to add all assets with “Caroline Springs Recreation Reserve” in their asset name, configure the filter as shown below and click “Apply”. Work Planner will show all assets that meet this criterion.
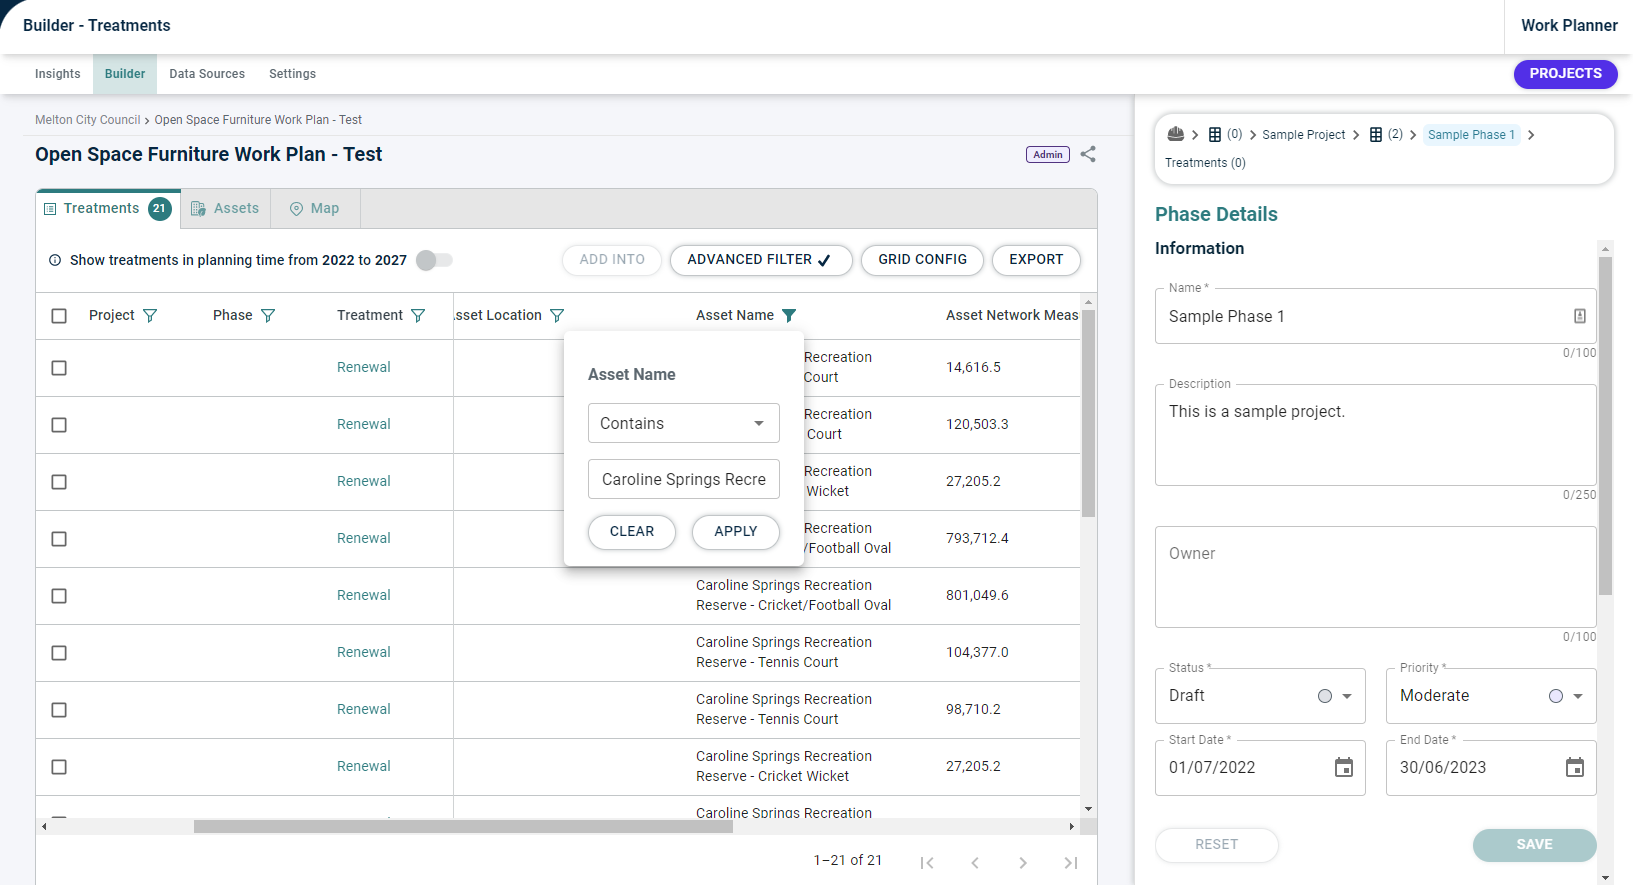
Select Treatments to allocate to the currently displayed phase by selecting the left-hand tick box and click “Add Into”.

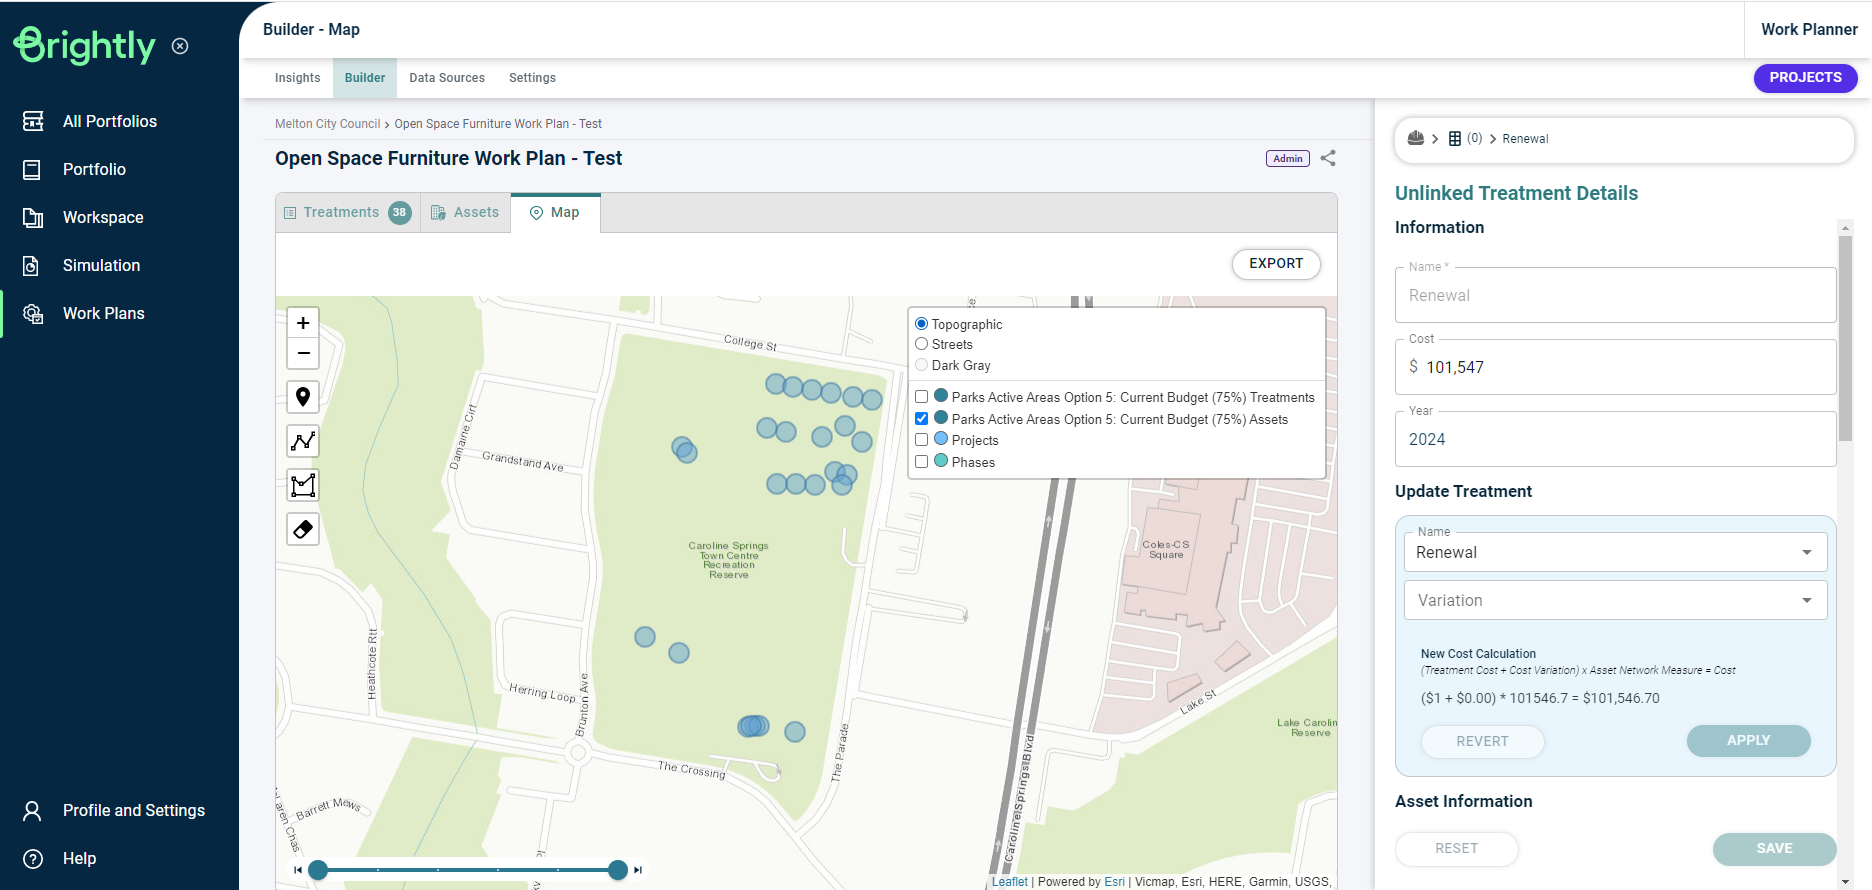
The user can navigate to each Treatment from the top of the Project panel. Work Planner will pre-populate relevant information into each Treatment. The user can review and edit relevant information for each Treatment to ensure accuracy.
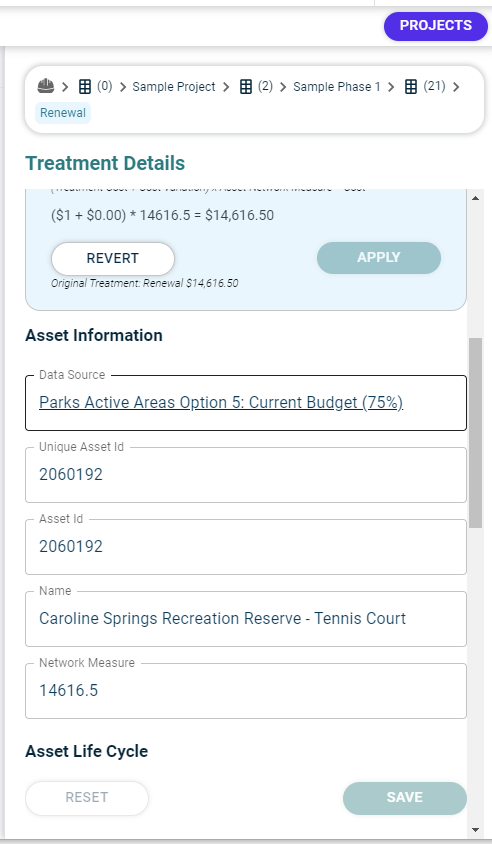
In the ‘Update Treatment’ section, select the new treatment and treatment variation (if applicable) from the drop-down lists.
Click “Apply” to update the cost of the newly applied treatment.
Click “Save” to save the updated treatment in the Project.
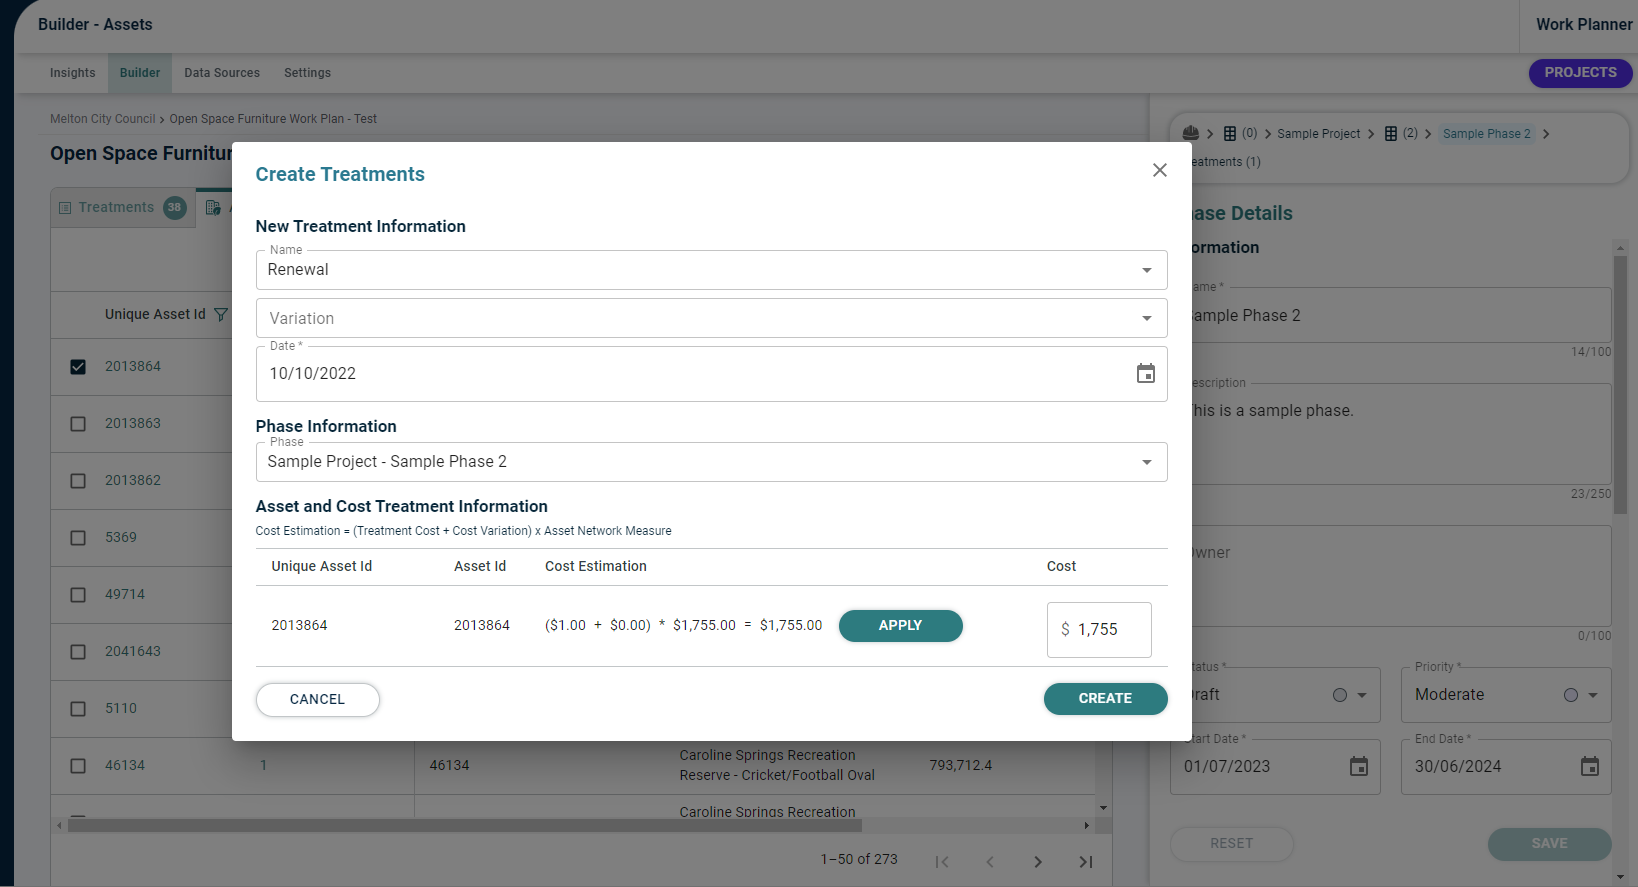
Alternatively, users can add assets to a Phase via the Assets tab. In the Assets tab, tick the desired assets and click “Add Treatment”. Select the name and variation of treatment along with the Phase to assign the treatment to via the drop-down. Click “Create”.
If GIS data is available in the Predictor model, the user should be able to see a “Map” tab. In this tab, the user can find a combination of Treatments, Projects, Phases, and Assets. Use the map legend on the top right corner to select which information to show on the map. Each individual item on the map can be clicked to reveal more detailed information.