Budget Distribution
A budget is the annual capital treatment funding allocation for the asset group during the analysis period. Using the currently allocated budget, and subject to the constraints configured, Predictor will predict the best possible future service levels for this predetermined budget.
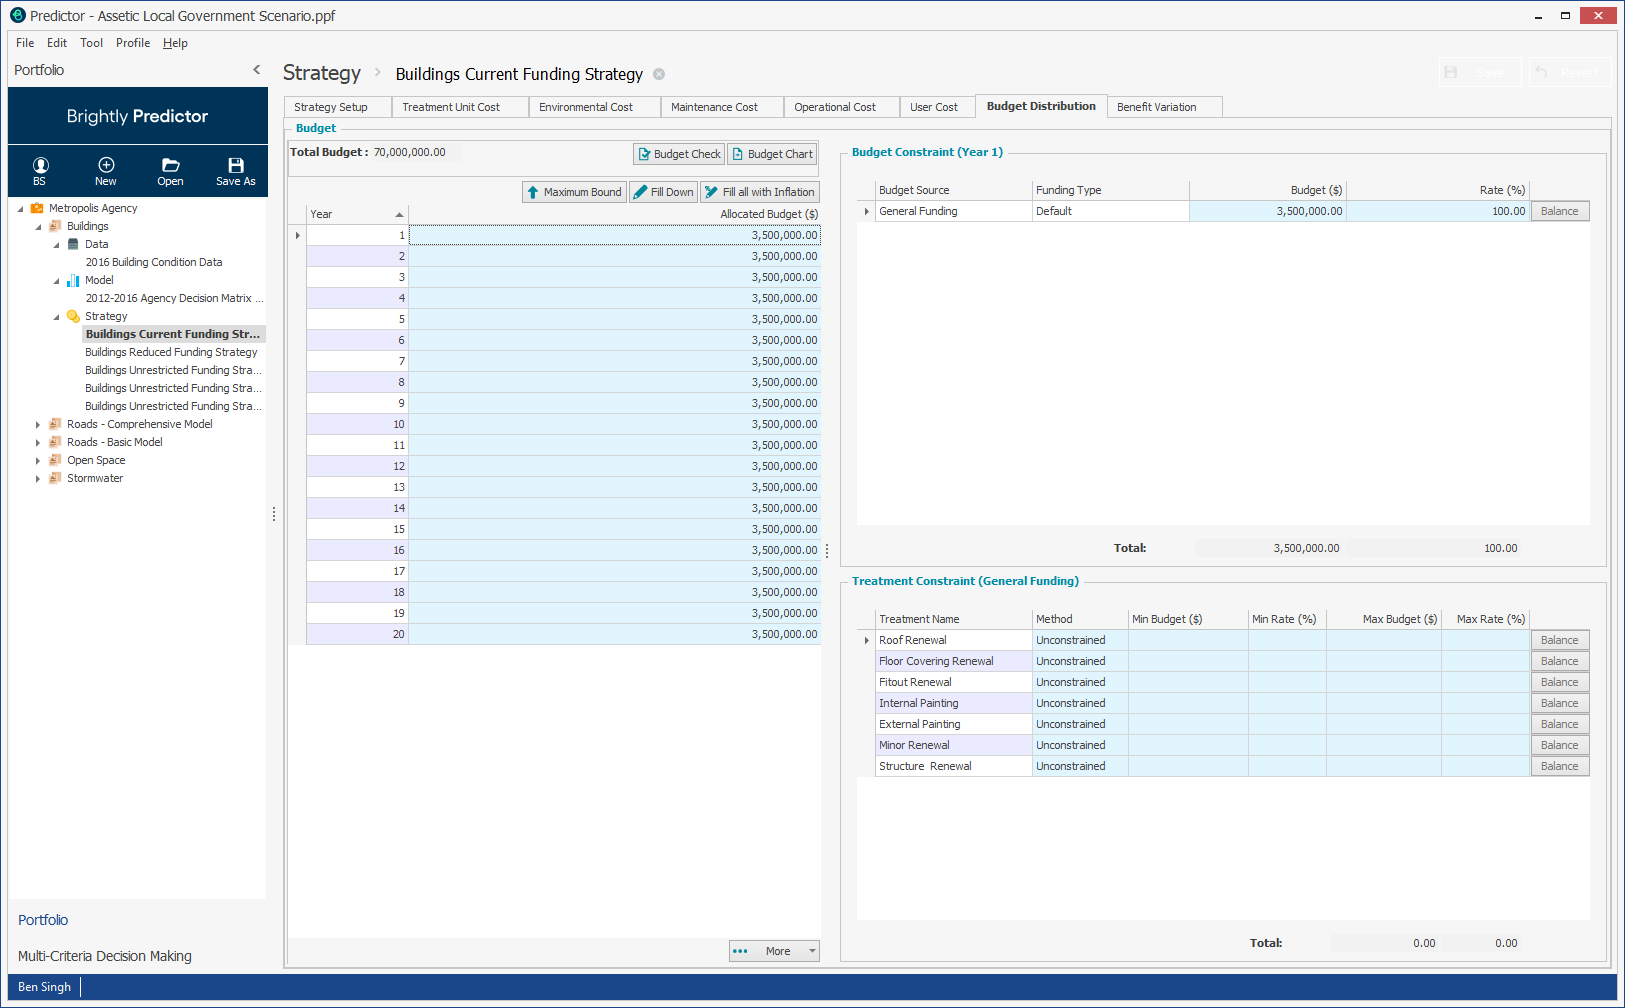
Click on the Budget Distribution tab. The following screen will appear.
-
In the left panel, users can configure the overall Budget for each year.
- Budget Check: Budget Check validates the allocated budget and budget distribution and provides the user with a list of assets with zero possibility of getting a specific treatment. Budget Check takes into account Unit Cost Variations. Note: the Budget Check doesn't take configured constraints into account.'
- Budget Chart: The Budget Chart button will open a chart in a new window, which shows the Allocated Budget for each year in a bar graph.
- Maximum Bound: The Maximum Bound provides budget guidance on what would be the maximum budget users may need to allocate in a worst-case scenario. The value provided is assuming each and every asset will need to undergo the most expensive treatment in any given year. The Maximum Bound feature takes into account Unit Cost Variations.
- Fill Down: The Fill Down button takes the budget in the selected year and applies it as the budget for all years below.
- Fill all with Inflation: The Fill all with Inflation button takes the budget in the first year and sets the budget for all subsequent years based on that value plus the inflation factor, as set during Strategy Setup.
Users can import yearly budget totals into the grid by right-clicking and selecting ‘Paste’, copying in a table of years and budget values, separated by tabs.

This can be copied from an Excel table, and is the same format as the XLS or XLSX export of a budget, also available by right-clicking on the grid.
Budget Constraints
Within the Budget Constraint grid, users can configure the distribution of the selected year’s budget between the various Budget Sources. Note that the default 'General Funding' Budget Source applies to all Treatements and cannot have constraints applied.
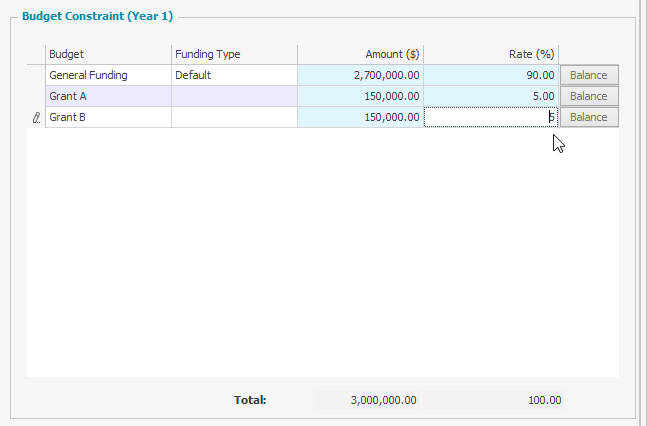
To do this, users can click in the Amount or Rate boxes, and enter the appropriate value. The total must add up to 100%, and the ‘Balance’ button can be used to assist with this requirement. Alternatively, users can paste a table of Budget Source names and the rates, to add Budget Constraints to the grid in bulk, by right-clicking.
Treatment Constraints
Within the Treatment Constraint grid, users can configure the distribution of a selected Budget Source for the selected year, between the various applicable Treatments for that Budget Source.
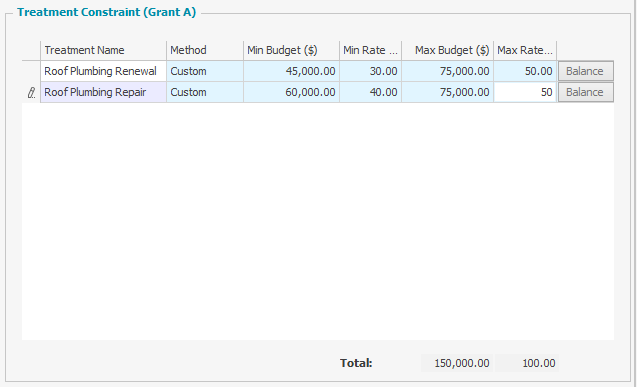
To do this, users can change the Method from ‘Unconstrained’ to ‘Custom’, and then define minimum and maximum amounts or rates. Alternatively, users can paste a table of Treatment Names, Minimum Rates, and Maximum Rates, to add Treatment Constraints to the grid in bulk, by right-clicking. The total maximum rates for custom constraints must be less than or equal to 100%, and the ‘Balance’ button can be used to assist with this requirement.
If the method is left as 'Unconstrained', the amount allocated to that Treatment will be up to the amount specified against the Budget Source.
Budget Distribution Import and Export
At the bottom of the screen, users can select ‘Import’ or ‘Export’ from the More menu, users are able to import or export their budget configuration.
The export will create an excel file detailing the full Budget Source and Treatment constraints for all years, with one sheet for the Budget Constraints and one sheet for the Treatment Constraints. A template for this import can be downloaded here.
Selecting Import will open the Import Budget Distribution Wizard:

This import wizard allows users to import the constraints on their Budget Sources and on Treatments in bulk.
Budget Constraints Import
After selecting ‘Budget Constraint’ as the import option and clicking Next, users will have to select the import provider file type:

Depending on the chosen provider, additional information is required, such as file and sheet selection, or authorization details. Once done, users click ‘Next’ to move to step 3:
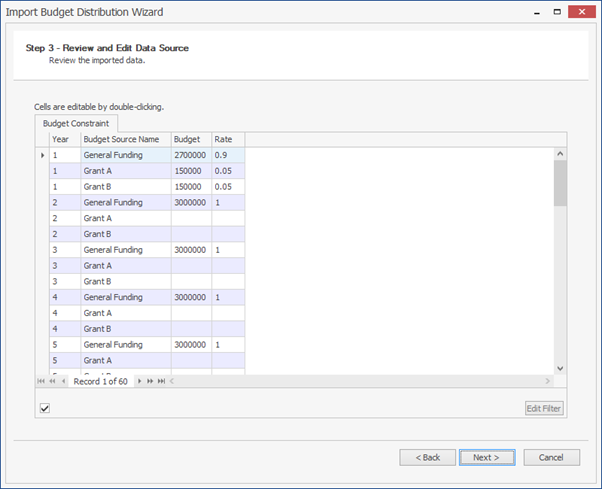
Here, the imported data can be reviewed and edited before clicking ‘Next’ to proceed to mapping the fields:
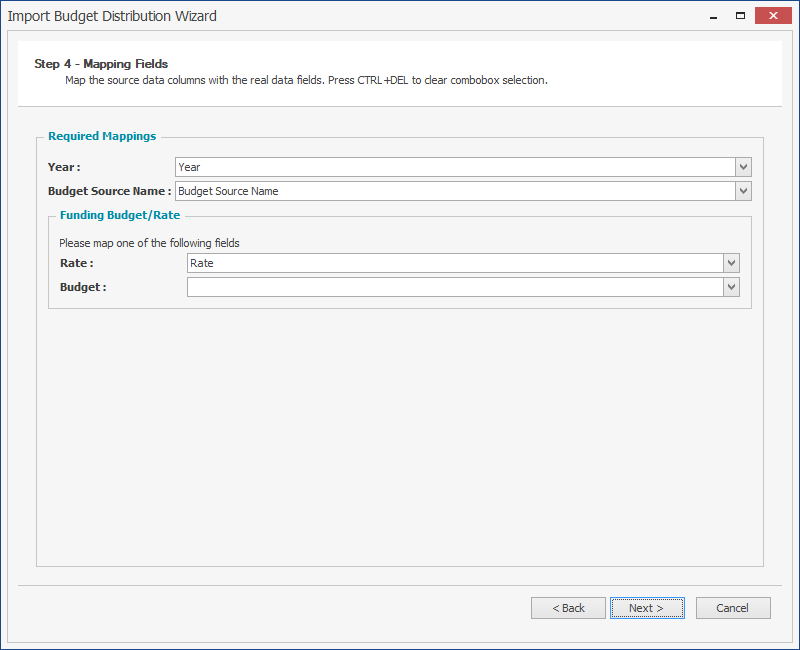
The Year and the Budget Source Name are mandatory mappings, while one of either the Rate or Budget fields also be mapped, before clicking ‘Next’ to proceed and finish the import.
Treatment Constraints Import
After selecting ‘Treatment Constraint’ as the import option and clicking Next, users will have to select the import provider file type:
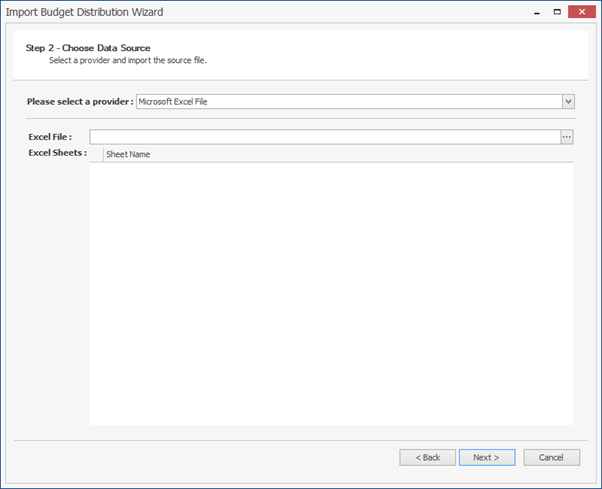
Depending on the chosen provider, additional information is required, such as file and sheet selection, or authorization details. Once done, users click ‘Next’ to move to step 3:
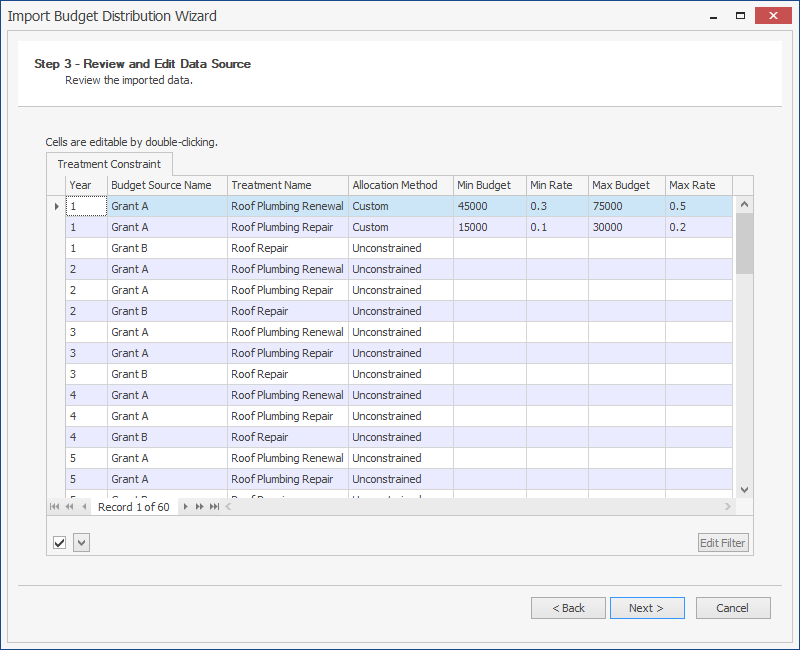
Here, the imported data can be reviewed and edited before clicking ‘Next’ to proceed to mapping the fields:
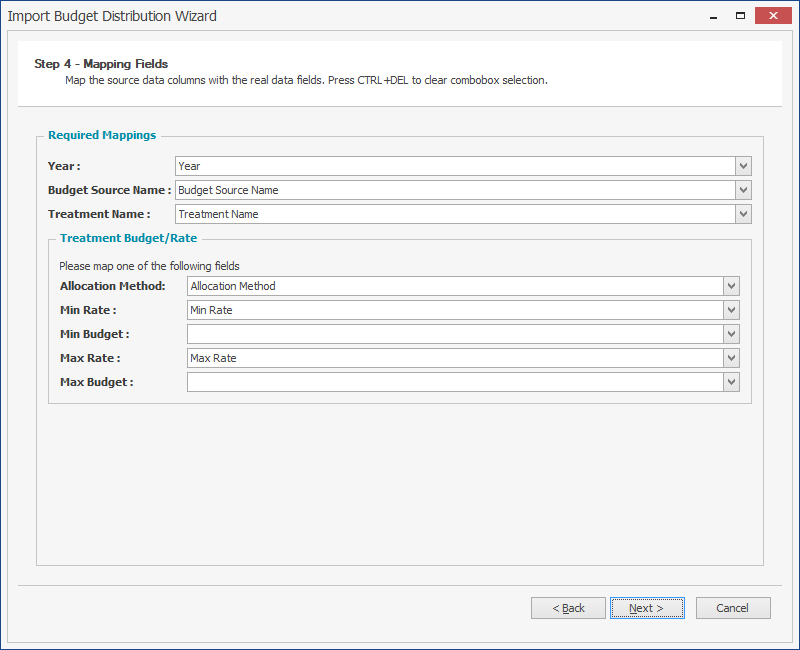
The Year, the Budget Source Name are mandatory mappings, and then one of either the Rate or Budget mappings must be used, before clicking ‘Next’ to proceed and finish the import.
