Esri ArcGIS - Publish Simulation Results
Note: This is a licensed feature. To have this feature enabled, please contact assetic.support@brightlysoftware.com
Note: Predictor must first be connected to an Esri ArcGIS Online portal with the Token authentication type. An anonymous login (no authentication) will not be able to add the simulation to the target ArcGIS Feature Service.
Prerequisites: The Esri ArcGIS Online Integration must be completed, and a Predictor simulation must exist.
Linking
To link a Simulation to a layer, click on the ‘Esri ArcGIS Integration’ tab, then select the simulation:
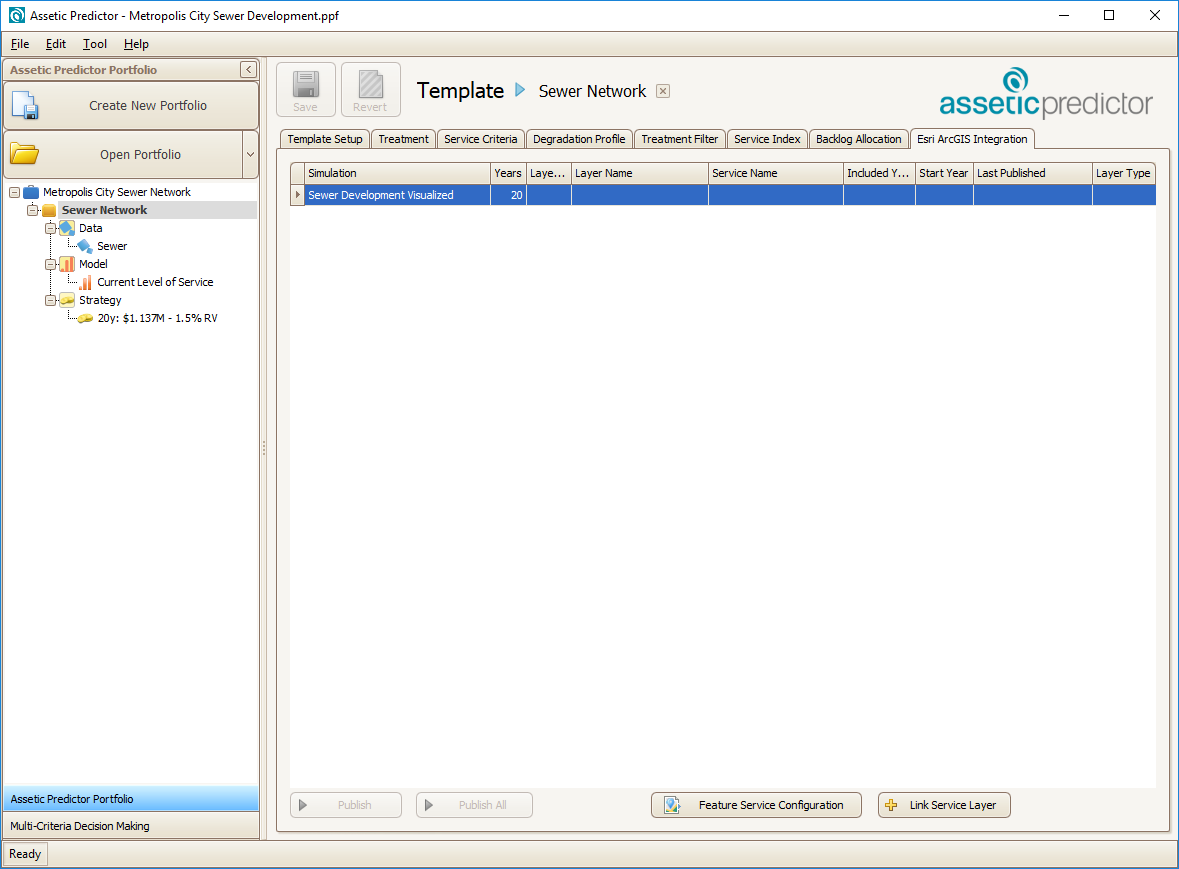
Next, click on the ‘Link Service Layer’ button to open the ‘Add Service Layer Link’ window:
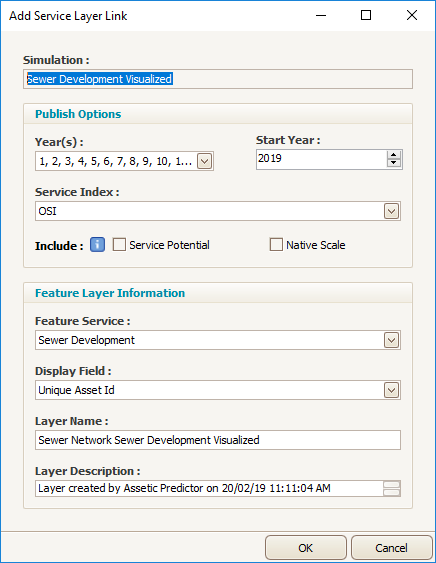
- Simulation: The name of the selected Predictor Simulation.
- Year(s): A drop-down menu in which specific years of the Simulation results can be selected or deselected for publishing to ArcGIS online.
- Start Year: Determines the calendar year from which the published simulation results will begin.
- Service Index: A drop-down menu to select which additional Service Indices will be published to ArcGIS online, beyond just OSI which is always selected.
- Include: Allows for either or both of Service Potential and Native Scale values to be included for publishing to ArcGIS online. Note that enabling either of these will disable the compact data feature, potentially resulting in a slower upload.
- Feature Service: A drop-down menu to select which ArcGIS Feature Service Layer to publish the results to.
- Display Field: A drop-down field to choose what label will be used to identify the assets when they are published.
- Layer Name: The name of the layer that will be created in ArcGIS when the simulation results are published.
- Layer Description: The description of the layer, which will appear in ArcGIS when the layer is published. By default, this will automatically be pre-filled with the creation date.
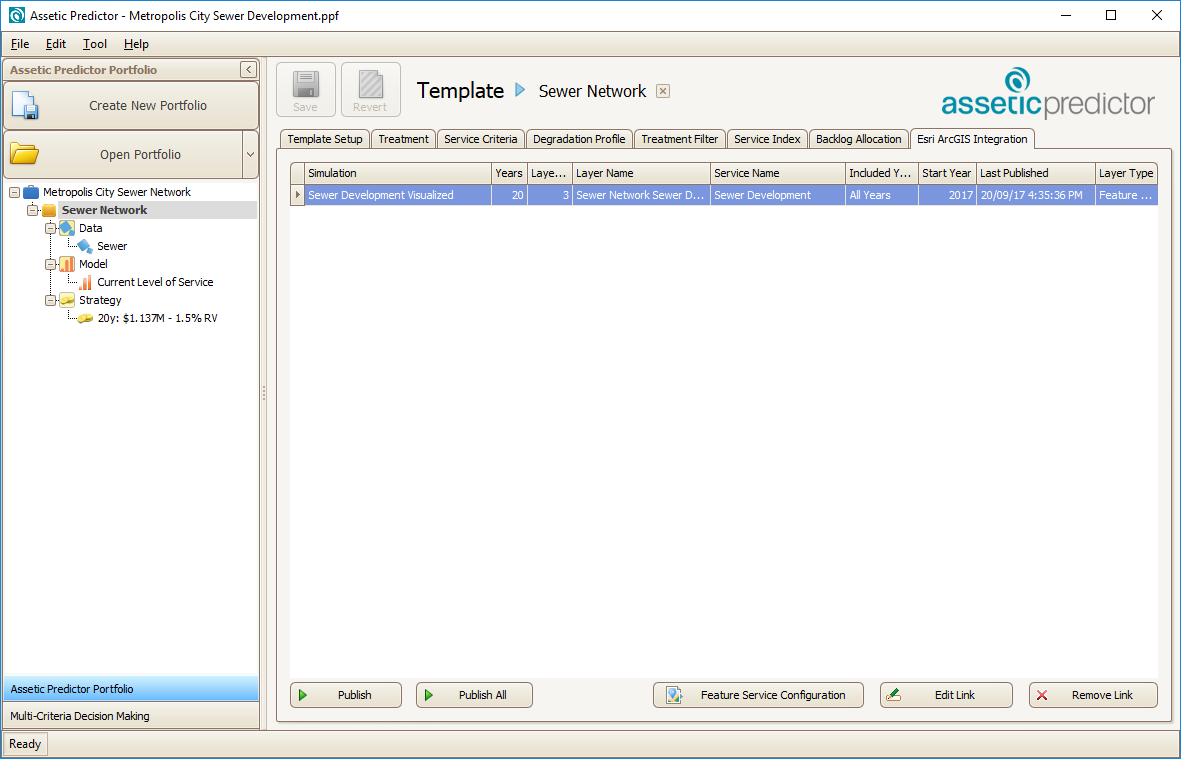
Click ‘Ok’ to complete the link between with Simulation and the details of the linked Service will appear in the list:
Publishing
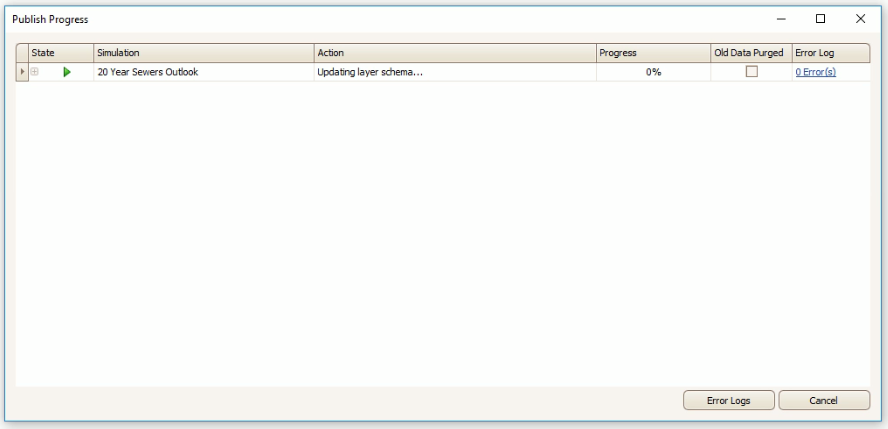
Once the Simulation has been linked to a layer, the simulation results can be published to ArcGIS online.
To do this, select the Simulation, and click the 'Publish' button in the bottom left. A window will appear titled 'Publish Progress' which shows the simulation being run and published: