Using Python Requests Library to access Assetic REST API
Accessing Assetic API directly using Requests library
If you prefer you may also utilise the Assetic API endpoints without using the Assetic SDK. If so, you will need to manage the request preparation, the request itself, and response handling.
It is recommended that you download and install the Requests library if you don't already have it. The Requests library greatly simplifies making HTTP requests in Python. See these instructions to install the library.
This guide may also prove useful if you are using another language such as .Net since it shows how to formulate the request and manage the response
Getting Data from Assetic using Requests library
The following example gets the work order details for a given work order Id. Note that the Id is a GUID string. Also, note that for GET requests the request parameters are including in the endpoint URI.
Replace the following placeholder in the script with your information:your_config_path.
import requestsimport configparser# Read Config File
settings = configparser.ConfigParser()
settings.read('/your_config_path/assetic.ini')# Script Variables
env_url = settings.get('environment', 'url')# Open Assetic API Session
session = requests.Session()
basic_auth = settings.get('auth', 'username'), settings.get('auth', 'api_key')
session.auth = basic_auth# Get Work Order using the unique ID
id = 'acb648da-fbfa-e511-9812-0632cf3be881'
endpoint = env_url + '/api/v2/workorder/' + id
response = session.get(endpoint)
if response.status_code != 200:
print('Response failed with error {}'.format(response.status_code))
exit()
data = response.json()
print( 'Status = ', data['WorkOrderStatus'])
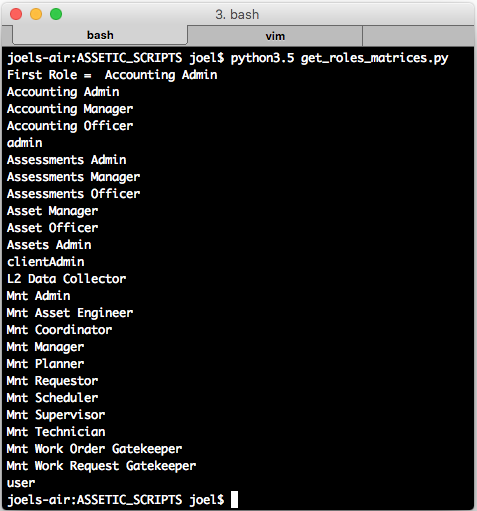
python3 get_roles.py
Example:
How it Works
The script uses the configparser library to read the API Key and environment URL variables we defined in our "assetic.ini" file. These variables are used for authenticating the Assetic REST API queries.
settings = configparser.ConfigParser()
settings.read('/your_config_path/assetic.ini')# Script Variables
env_url = settings.get('environment', 'url')
The script uses the requests library to authenticate and make the HTTP get request (i.e. a GET using /api/RoleApi):
# Open Assetic API Session
session = requests.Session()
basic_auth = settings.get('auth', 'username'), settings.get('auth', 'api_key')
session.auth = basic_auth
# Get Work Order using the unique ID
id = 'acb648da-fbfa-e511-9812-0632cf3be881'
endpoint = env_url + '/api/v2/workorder/' + id
Next, the script decodes the JSON returned by the API and packages the data in a Python dictionary:
data = response.json()
A dictionary is simply a collection of key/value pairs. Decoding the JSON into a dictionary lets you work with the data using regular Python operators and expressions.
Consult the Assetic REST API docs to figure out what's in the dictionary. For example, according to the Work Order API doc, the JSON returned by a call to the API has the following structure:
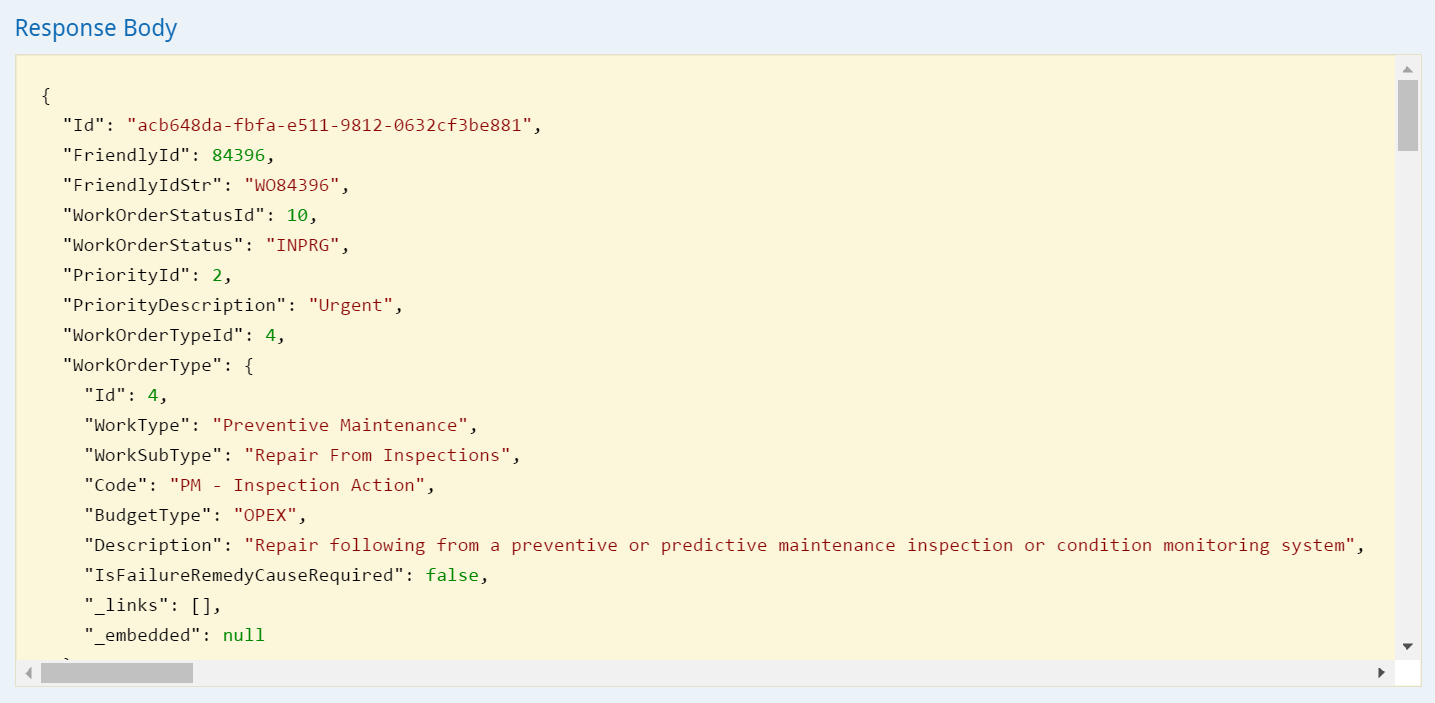
Decoding this JSON produces a Python dictionary. Armed with this information, you can access the data in the dictionary. For example, the following statement accesses and prints the Status of the work order in the dictionary:
print( 'Status = ', data['WorkOrderStatus'] )
The script described in this section is fine for getting up to fifty or so records from Assetic. However, to retrieve several hundred or several thousand records, the script has to be modified to perform a few more tasks. To learn how, see Getting large data sets with the Assetic API and Python.
To explore getting other kinds of data from Assetic, see the rest of the Assetic REST API docs.
Updating Data in Assetic using Requests Library
The following example sets an external system ID for a complex asset.
Before trying out the script, change the value of the id variable and replace the following placeholder: your_config_path.
The "assetic.ini" config file must be created and how this gets processed with the configparser library is explained in the previous Assetic API Access Control and Getting data from Assetic exercises.
To learn how the script works, see the inline comments as well as the explanations that follow.
import jsonimport requestsimport configparser# Complex Asset to Update
id = '3877b1a8-de25-494f-888c-de91db7bce50'
data = {"Id":id,"Name":"WRC_E2","Label":"Walnet Research Centre - E2","ExternalIdentifier":"GIS_ID_1023334"}
# Script Variables
settings = configparser.ConfigParser()
settings.read('/your_config_path/assetic.ini')
env_url = settings.get('environment', 'url')
headers = {'content-type': 'application/json'}# Open Assetic API Session
session = requests.Session()
session.headers.update(headers)
basic_auth = settings.get('auth', 'username'), settings.get('auth', 'api_key')
session.auth = basic_auth# Encode the data to create a JSON payload payload = json.dumps(data) # Update a Complex Asset
url = env_url + '/api/ComplexAssetApi/' + id response = session.put(url, data=payload) if response.status_code != 200: print('Response failed with error {}'.format(response.status_code)) exit()
Save the script in a folder, use the command line to navigate to the folder, and run the script from the command line. Example:
python3 put_complex_asset.py
Open the complex asset in Assetic to view the external GIS System ID that you have assigned to this asset.
How it Works
In addition to importing the requests and configparser libraries, the script imports a library called json:
import json
Next, the script packages the data in a Python dictionary matching the structure of the JSON expected by the API. Consult the REST API doc for the expected JSON. For example, if you want to update the core identifier fields against a complex asset, the API expects the following JSON:
{"Id":"Asset Internal GUID",
"Name":"Friendly Asset ID",
"Label":"Asset Name Label",
"ExternalIdentifier":"External System ID"}}
Accordingly in Python, package your data as nested dictionaries matching the JSON:
data = {"Id":id,"Name":"WRC_E2","Label":"Walnet Research Centre - E2","ExternalIdentifier":"GIS_ID_1023334"}
We have set the header and environment variables as per the Getting data from Assetic example. We have also followed the same steps to open the API Session with the header values passed in:
session = requests.Session()
session.headers.update(headers)
Note, however, that we also need the following in the header for a PUT API call:
'content-type': 'application/json'
You should always encode your data to prevent characters like quotes from breaking the JSON. Encode the data to create a JSON payload as follows:
payload = json.dumps(data)
The following URL is used to make the API call:
url = env_url + '/api/ComplexAssetApi/' + id
Pass the JSON payload to the put request, along with the url parameter:
response = session.put(url, data=payload)
Creating data in Assetic
The following example creates a new complex asset.
Creating things with the API is almost identical to updating things, except that you use a post request instead of a put request.
Before trying out the script, replace the following placeholder: your_config_path.
The "assetic.ini" config file must be created and how this gets processed with the configparser library is explained in the previous Assetic API Access Control and Getting data from Assetic exercises.
import jsonimport requestsimport configparser# Complex Asset to be Created
data = {"ComplexAssetCategory":"Bins","Name":"Bin1010101","Label":"My New Bin Asset"}# Script Variables
settings = configparser.ConfigParser()
settings.read('/Users/joel/assetic.ini')
env_url = settings.get('environment', 'url')
headers = {'content-type': 'application/json'}
basic_auth = settings.get('auth', 'username'), settings.get('auth', 'password')# Open Assetic API Session
session = requests.Session()
session.headers.update(headers)
session.auth = basic_auth# Encode the data to create a JSON payload
payload = json.dumps(data)# Create a Complex Asset
url = env_url + '/api/ComplexAssetApi'
response = session.post(url, data=payload)# Check for HTTP codes other than 201 (Created)
if response.status_code != 201:
print('Response failed with error {}'.format(response.status_code))
exit()
Save the script in a folder, use the command line to navigate to the folder, and run the script from the command line. Example:
python3 create_work_request.py
Do a Quick Search to see the new complex asset.
How it Works
The script uses the following URL to make the API call:
url = env_url + '/api/ComplexAssetApi'
To learn how the script works, see the explanations in Updating data in Assetic. They're basically the same, except for the post request.
To explore adding other kinds of data in Assetic, see the rest of the Assetic REST API docs.
