Schedule Work Order
Objective: Learn how to schedule a Work Order.
Prerequisites: A Work Order must already have been created and be ready to be scheduled.
Schedule Work Process
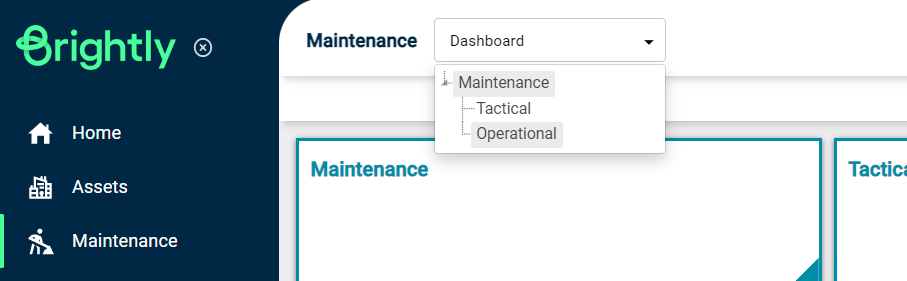
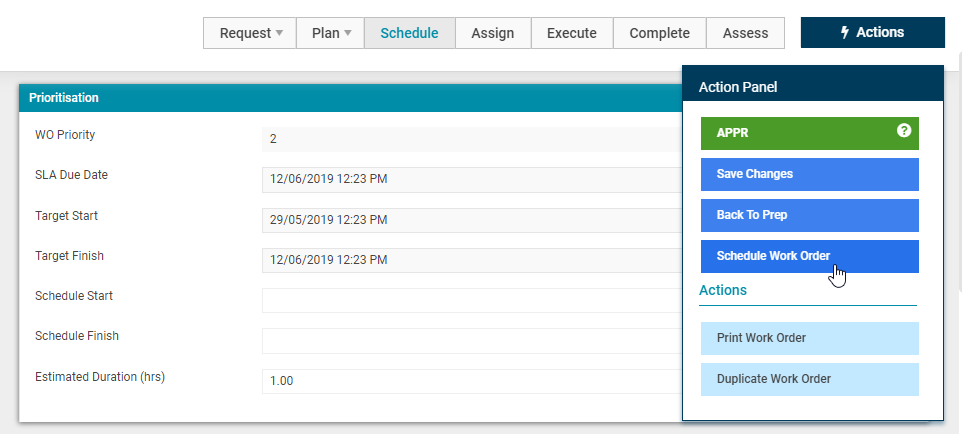
Access "Schedule" by selecting "Maintenance" from the Navigation Sidebar, and selecting "Operational" from the Navigation Dropdown or by clicking on the Operational tile on the Maintenance Dashboard:
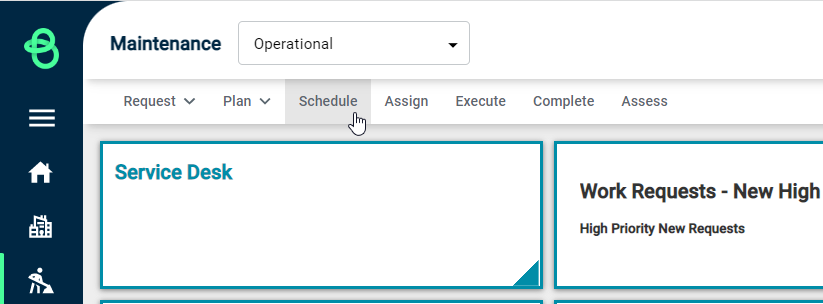
Select the 'Schedule' tab to display the Schedule Work Orders Dashboard page.
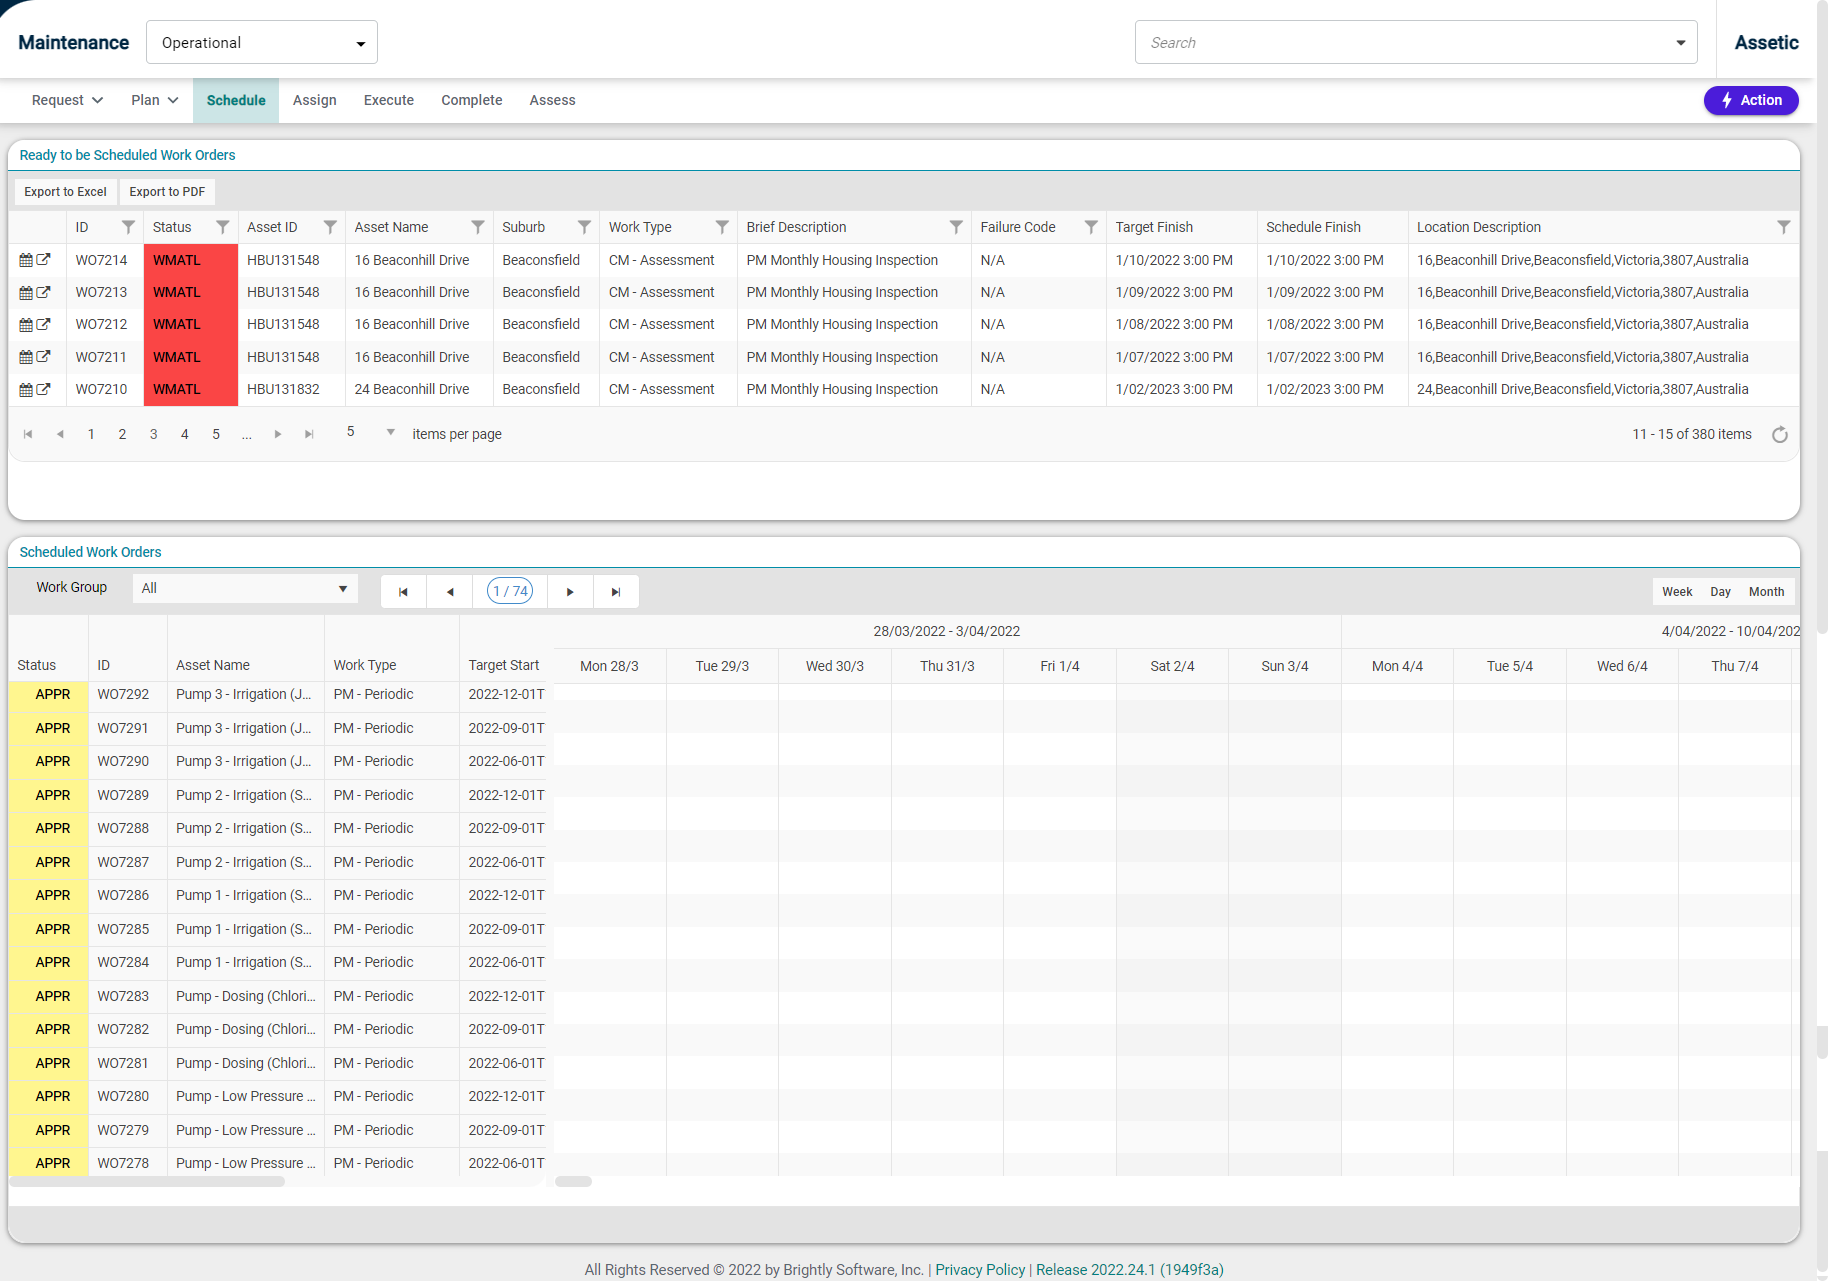
This will display the following dashboard.
The two panels are detailed in the following sections:
Ready to be Scheduled Work Orders

This screen is the interface that enables an approved work order to become a scheduled work order. The following fields are available:
-
Schedule/Review WO: This first column contains two buttons. Clicking the Schedule (
 ) button opens the 'Schedule' pop-up, allowing for the Work Order's Schedule Start and Finish to be added and the Work Order's status to be changed to scheduled. Clicking the Review WO (
 ) navigates to the details page for the Work Order, which can then be updated.
 -
ID: Automatically populated field that draws in the unique work order ID.
-
Status: The WO status field details is automatically populated to show the current workflow status. In this screen, the work order will either be in APPR, WMATL, WACON, or WSCH.
-
Asset ID: The unique identifier of the affected Asset selected for the Work Order.
-
Asset Name: Automatically populated field that displays the name of the affected Asset.
-
Suburb: Automatically populated field that displays the Suburb where the Asset is located.
-
Work Type: Automatically populated field that displays the work type.
-
Brief Description: Automatically populated with the description information that was entered while creating the WO.
-
Failure Code: The Failure Code selected for the Work Order.
-
Target Finish: Automatically populated field on when the work order should be finished.
-
Schedule Finish: This field contains the date on which the work is scheduled to finish.
-
Location Description: Automatically populated field containing the address of the defect location/asset for the Work Order.
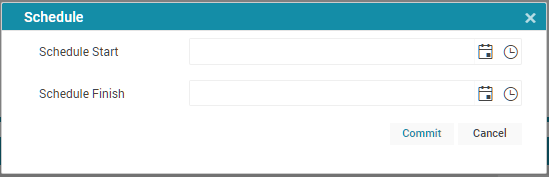
Clicking the Schedule ( ) button opens the 'Schedule' pop-up. This screen is where it is possible to schedule work to tentatively schedule work into the Scheduled Work Orders Gantt chart below.
-
Schedule Start: This field is populated by either typing a date or clicking on the calendar symbol on the right. This represents the earliest date that work can start.
-
Scheduled Finish: This field is populated by either typing a date or clicking on the calendar symbol on the right. This represents the latest date that work can finish.
Clicking the Review WO ( ) navigates to the details page for the Work Order, which can then be scheduled:
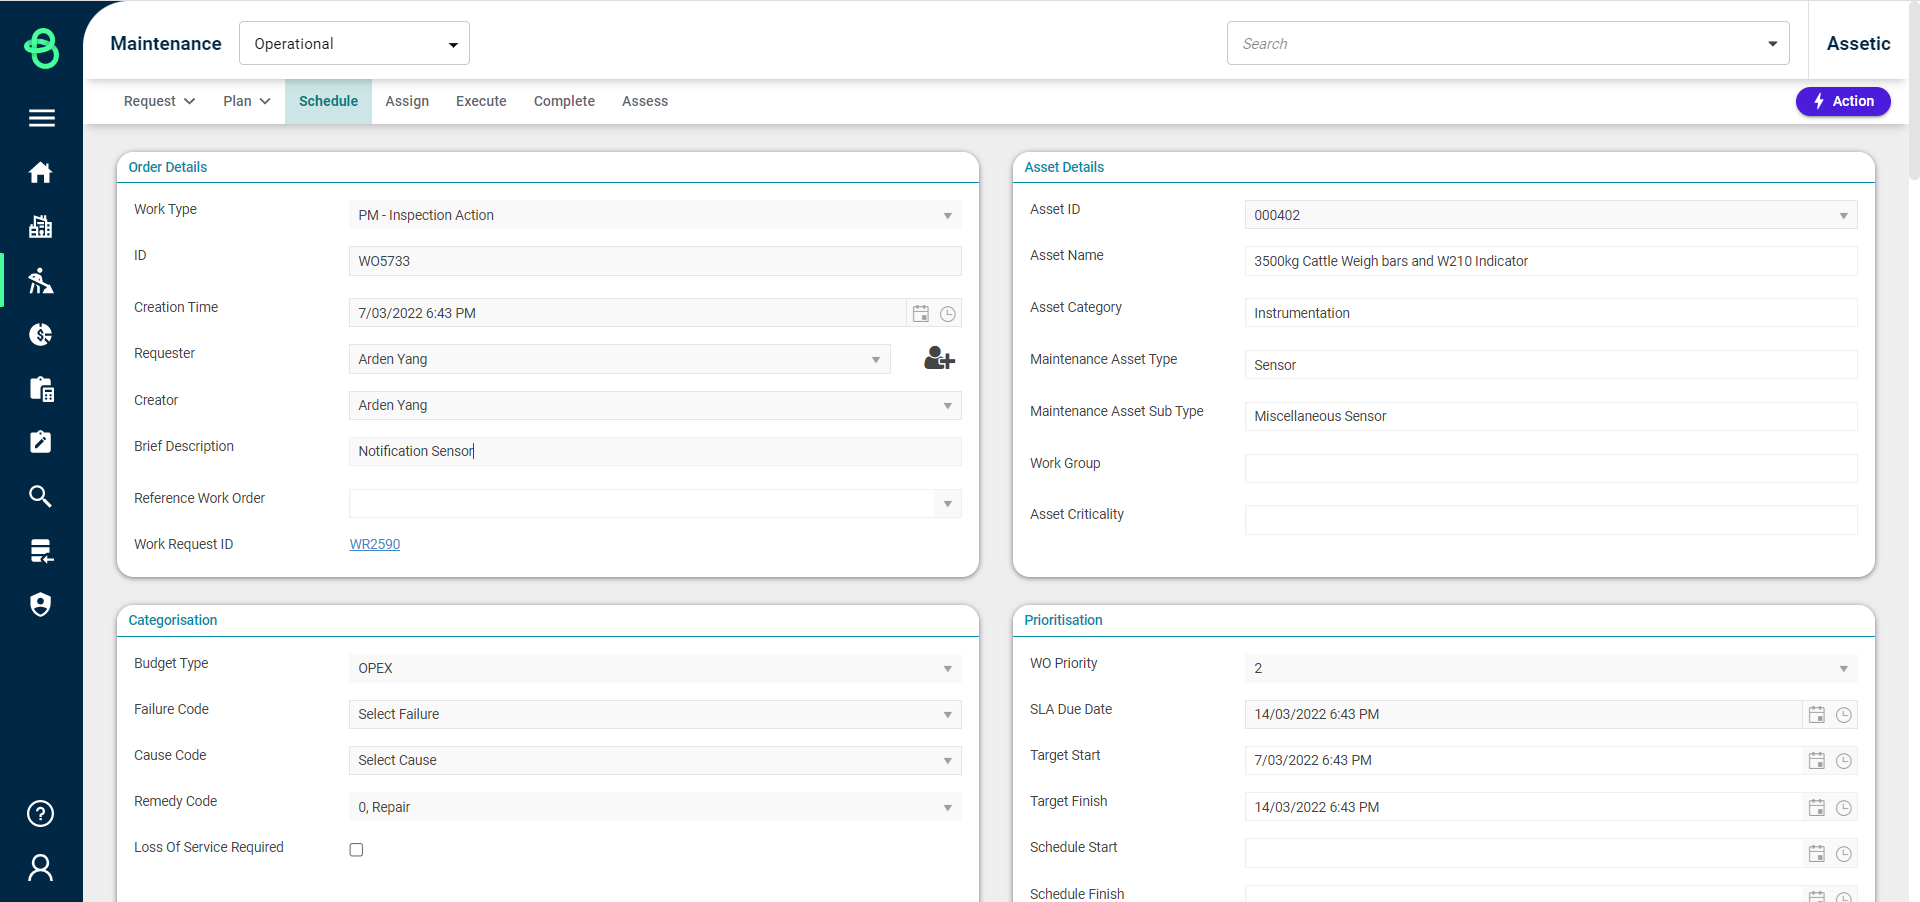
From this screen, a Schedule Start and Schedule Finish date can be added in the Prioritisation box, and the Work Order can be scheduled from the Actions Panel menu:
Scheduled Work Orders
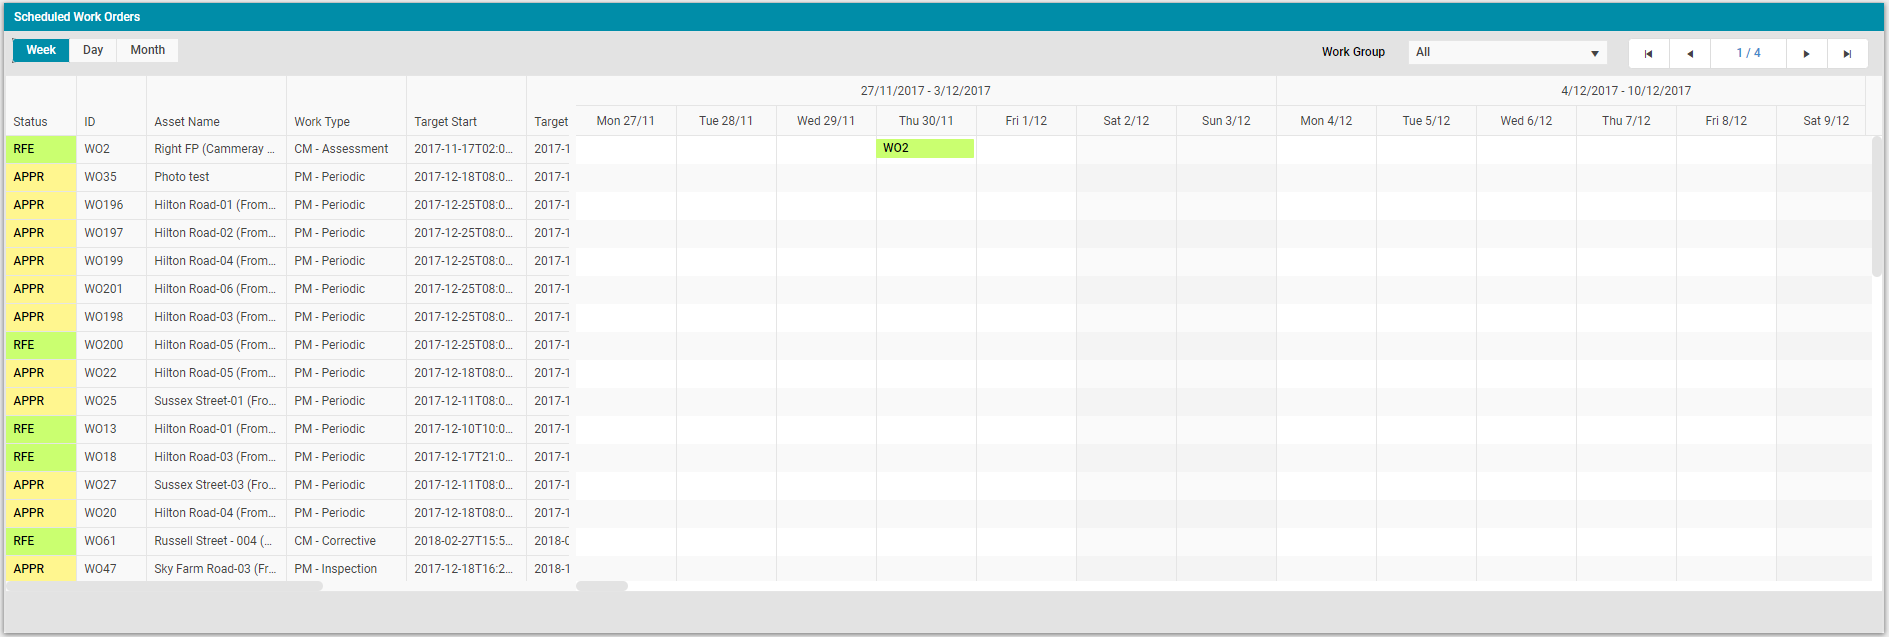
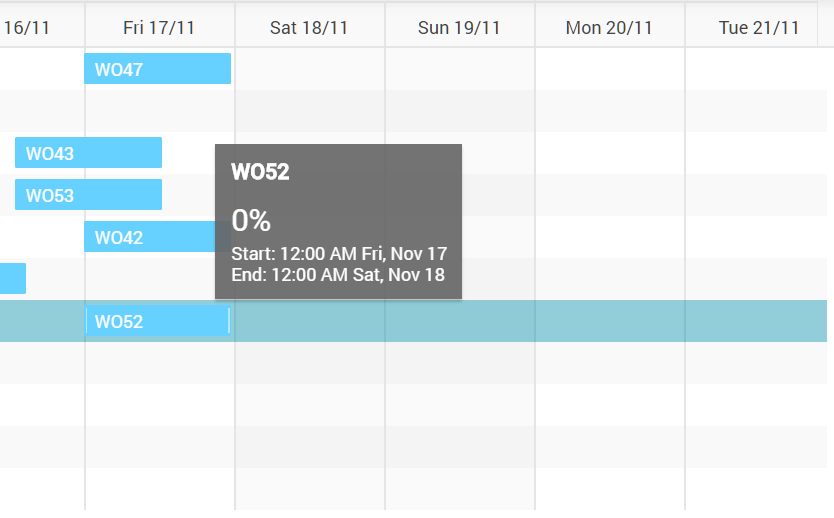
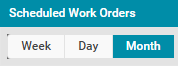
The "Scheduled Work Orders" section displays all work orders that have been tentatively scheduled, but not committed. They are displayed in a Gantt chart format that can have a timeline viewed as "week", "day" or "month" by selecting from the buttons shown below.
The key fields shown are as follows:
-
Status: The WO status field details are automatically populated to show the current workflow status.
-
ID: Automatically populated field that draws in the unique work order ID.
-
Asset Name: Automatically populated field that displays the asset that the work is to be executed against.
-
Work Type: Automatically populated field that displays the work type.
-
Target Start: Automatically populated field with when the work order should be started.
-
Target Finish: Automatically populated field with when the work order should be finished.
-
Scheduled Start: Automatically populate field that displays when the work order will be started.
-
Scheduled Finish: Automatically populated field that displays when the work order will be finished.
-
Estimated Duration: Automatically populated field on how long it will take for the work order to be completed.
By hovering the mouse over a Work Order, a summary of the current status, including a percentage reflecting how much work has been completed, will be displayed: