Azure Active Directory Single Sign-On to Brightly Assetic
Brightly Assetic supports Single Sign-On authentication when accessing the platform. This article outlines how Administrators (users with the clientAdmin role) can setup and configure Azure Active Directory SSO to Assetic in their organisation.
Prerequisites: This process requires a set-up/configured: An Azure Active Directory Premium Service and a 'directory' in the Azure AD Premium Service.
1. Add the Assetic Application to Azure AD
Log in to the original Microsoft Azure Management portal: https://portal.azure.com/
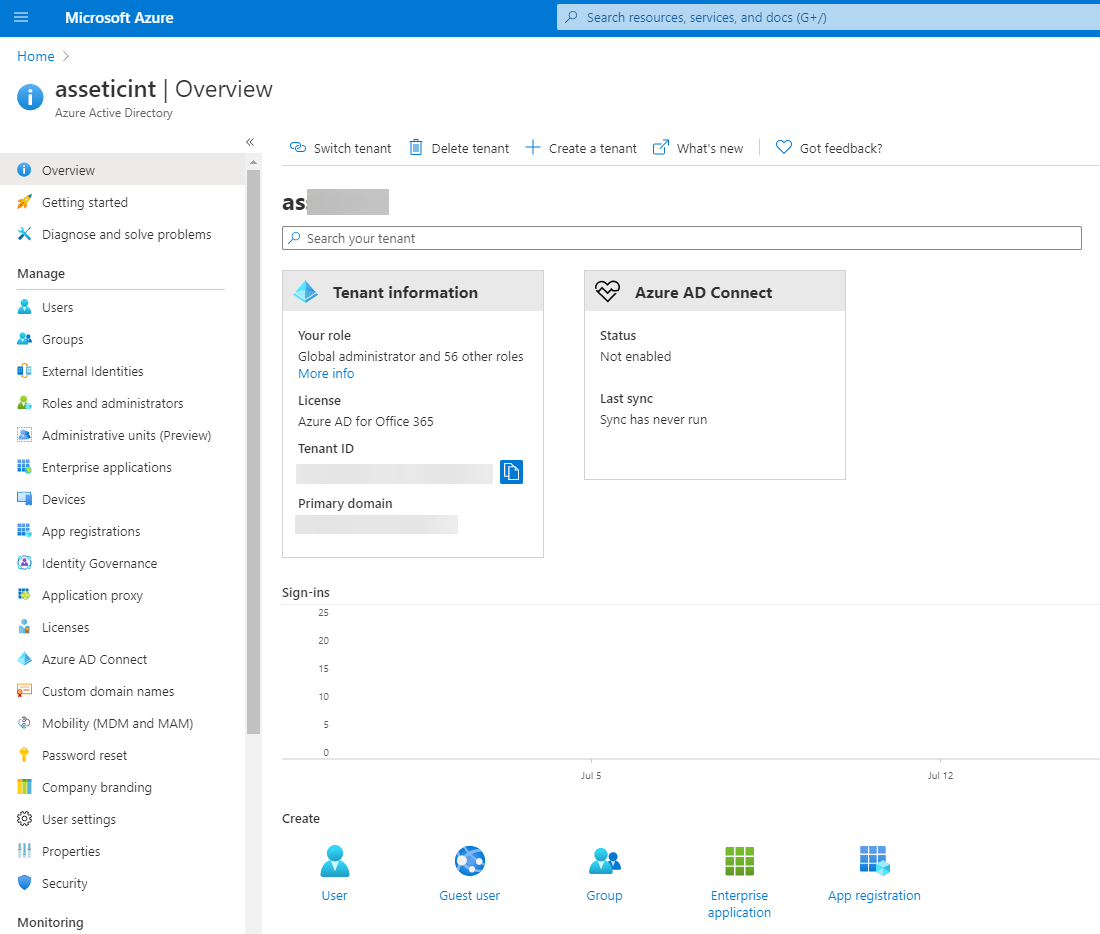
Navigate to your Azure Active Directory.

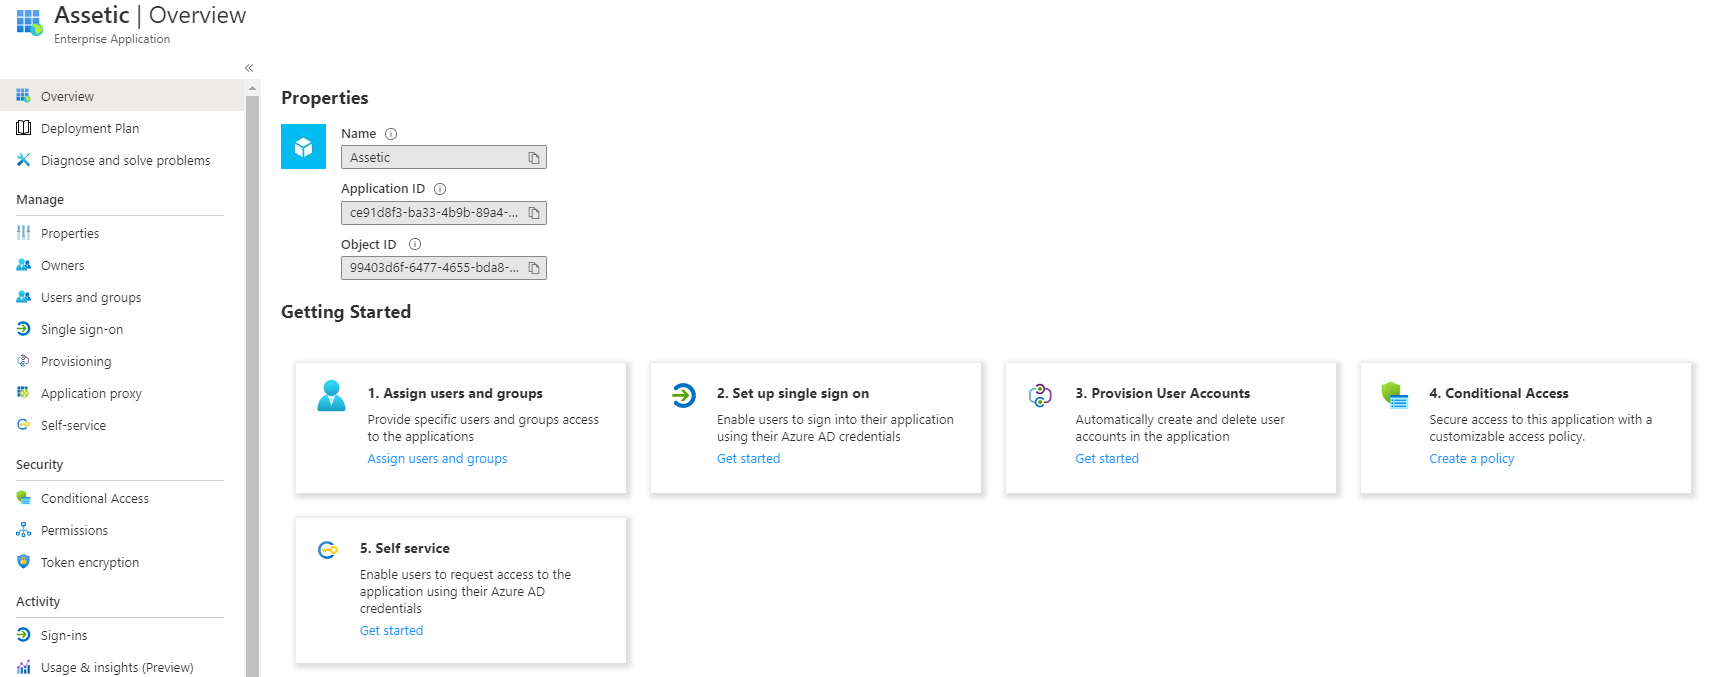
1.1 Click on 'Enterprise Applications' from the left pane or at the bottom.
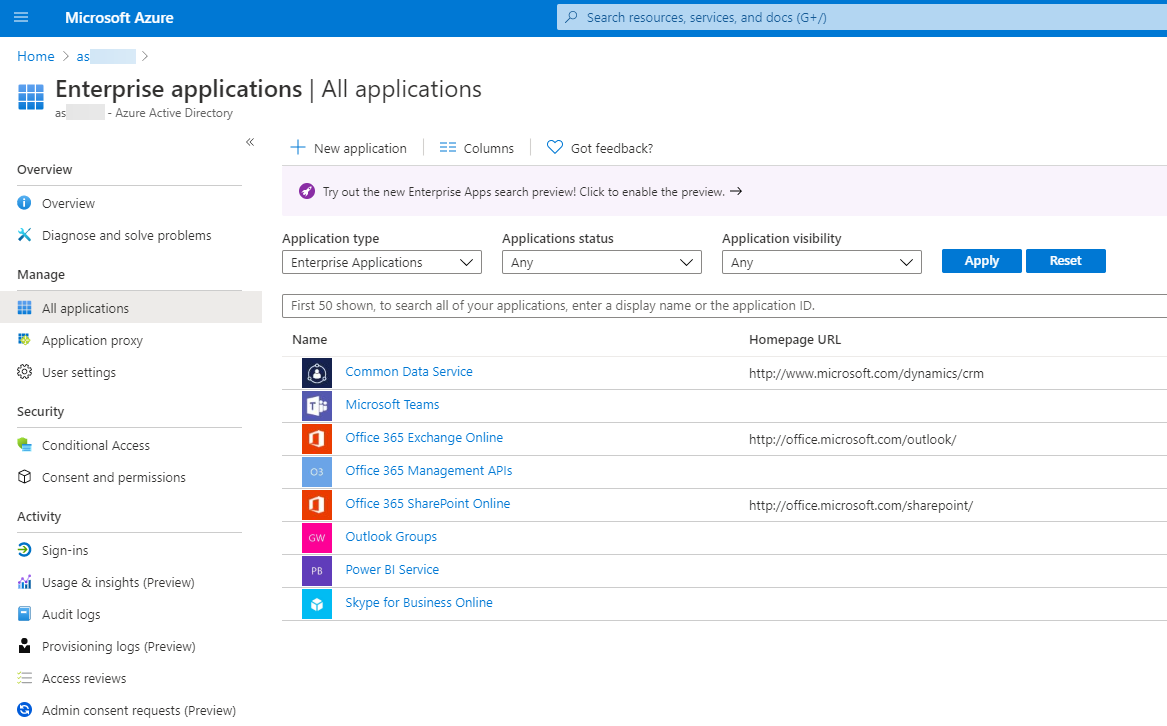
1.2 Click on 'New Application'.
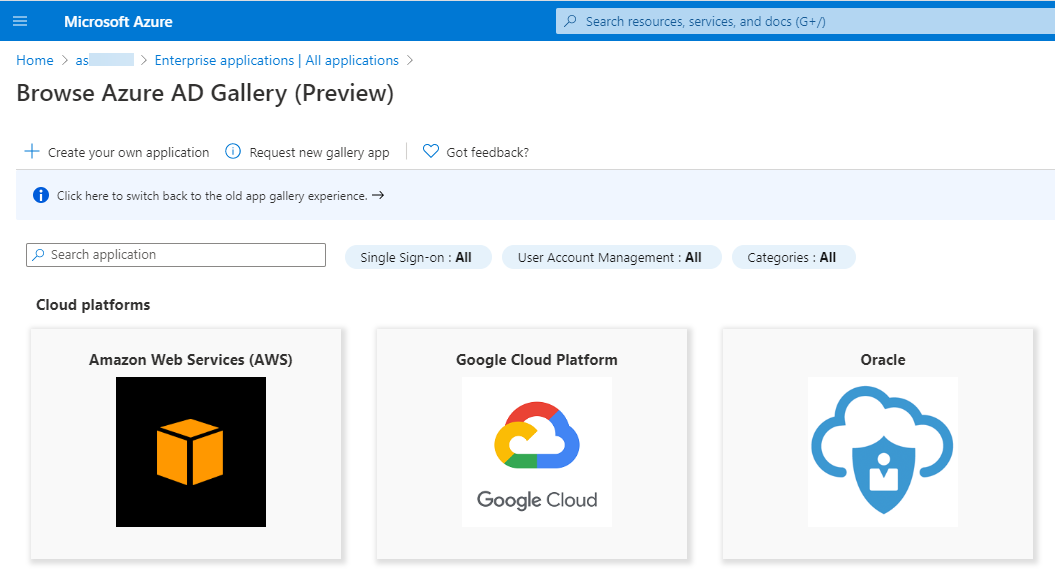
1.3 Click on 'Create your own application'.
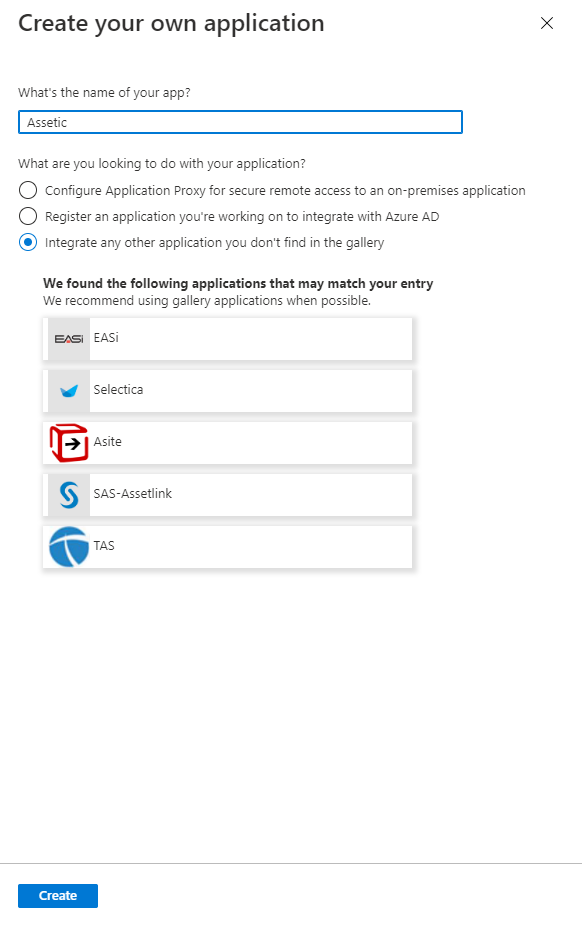
1.4 Enter in 'Assetic' and choose the option 'Integrate any other application you don't find in the gallery'. Then click 'Create'.
2. Configure Single Sign-On in Azure Active Directory
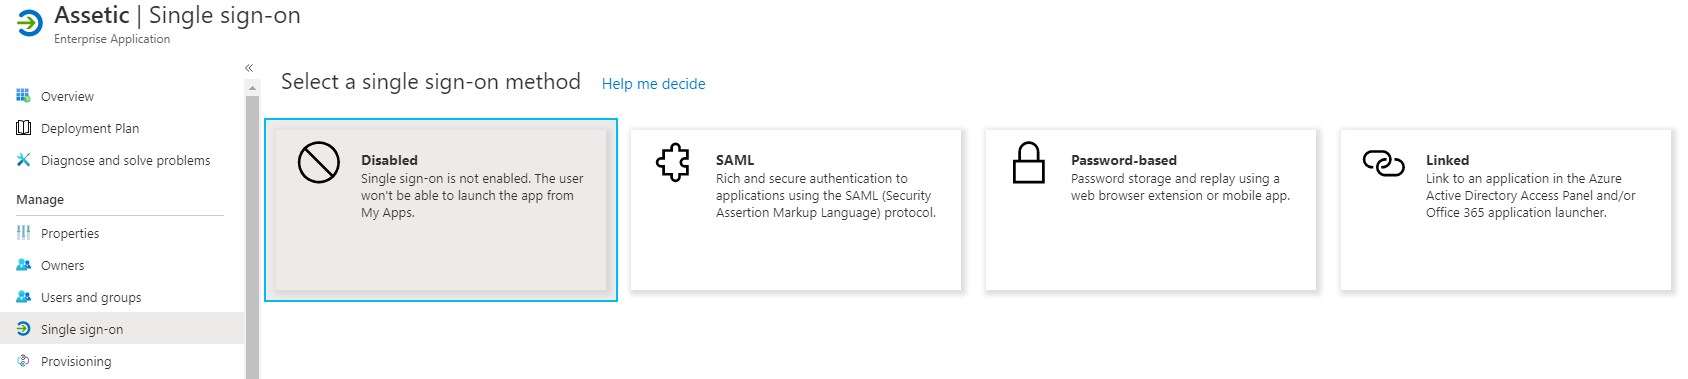
2.1 Click on '2. Set up single sign-on'.
2.2 Click on 'SAML'.
2.3 Populate the 'Required' fields by clicking on the 'Edit'.
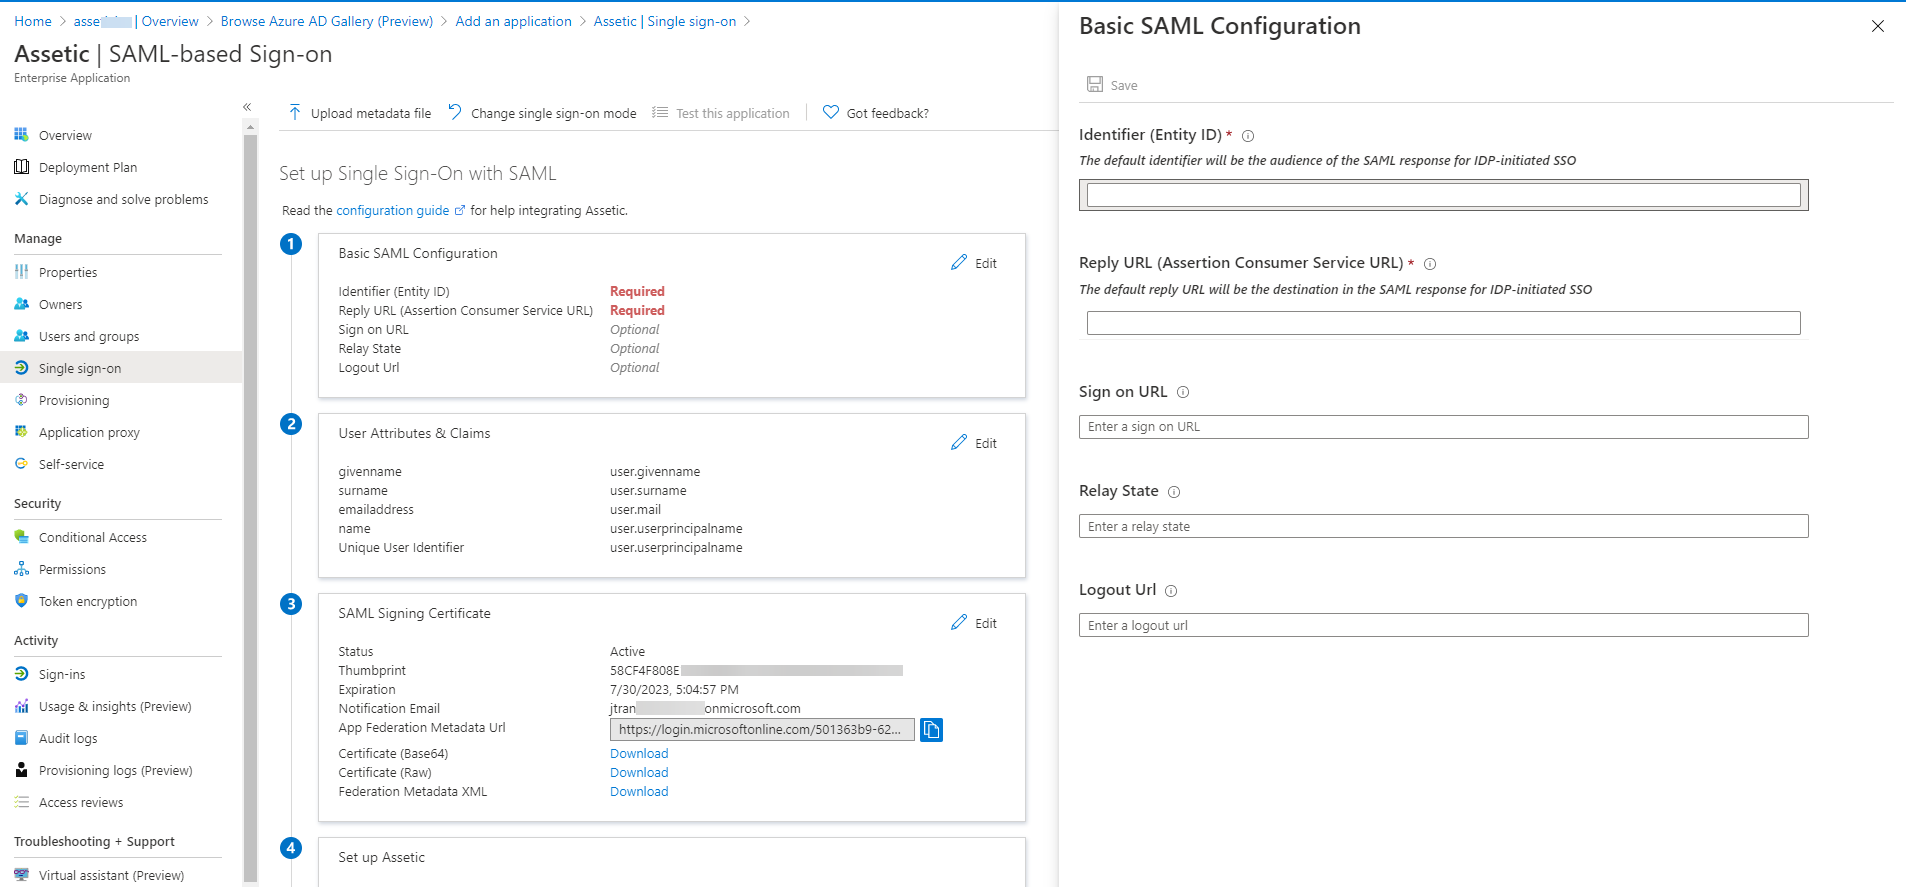
2.4 Enter the following for the 'Identifier' and 'Reply URL' and click 'Save'. These details can be found in the Assetic Cloud environment under 'Admin' > 'User Management' and then the 'Identity Provider' tab.
Audience URI (SP Entity ID) = Identifier
[clientEnvironmentName.assetic.net]
SAML Assertion Consumer Service URL = Reply URL
[https://clientEnvironmentName.assetic.net/Account/samllogin]
Enter the URLs as follows.

2.5 Click Edit to modify the SAML tokens.
2.6 Click on the 3 dots on the right to delete all the SAML token attributes EXCEPT the following two:
- user.userprinciplename (which is mandatory)
- user.mail
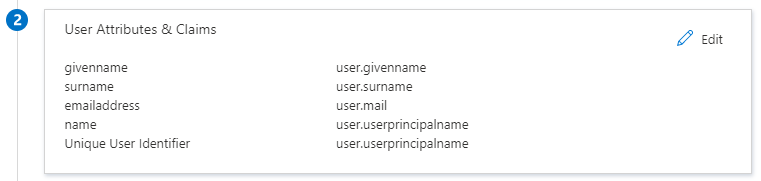
You should be left with the following:

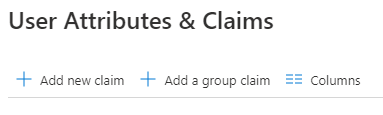
2.7 Click Add new claim at the top.
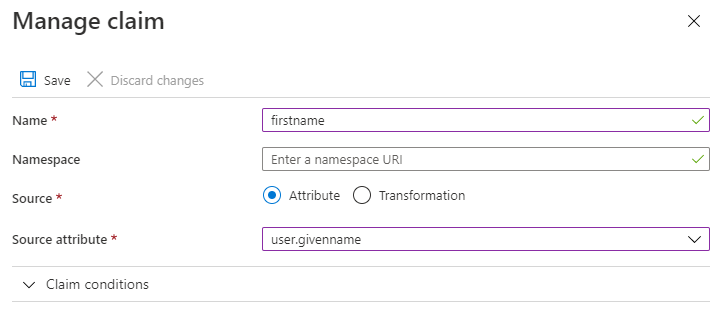
2.8 Add the following 2 claims as follows:
a.
Name: firstname
Source Attribute: user.givenname
Then click 'Save'.
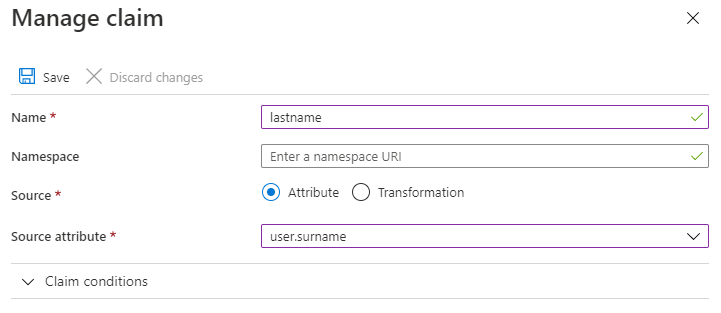
b.
Name: lastname
Source Attribute: user.surname
Then click 'Save'.
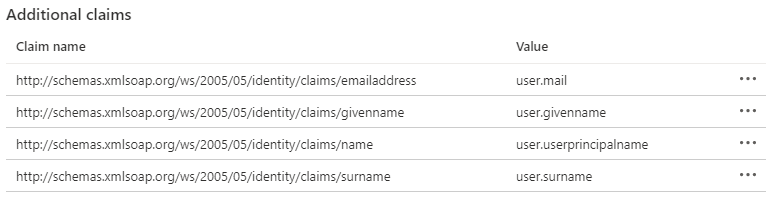
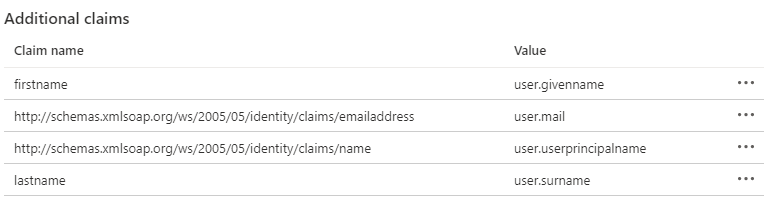
The list should now have 4 attributes as below.
2.9 Click back to SAML-based Sign-on to go back to the SAML configuration.

3. Configure Single Sign-On in Assetic Cloud
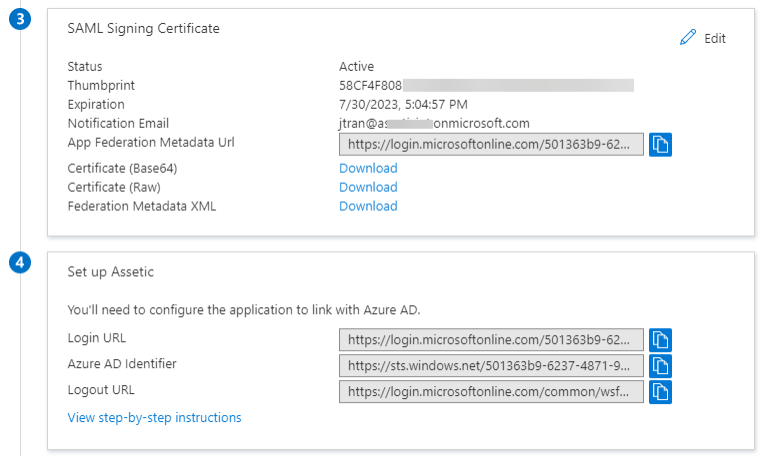
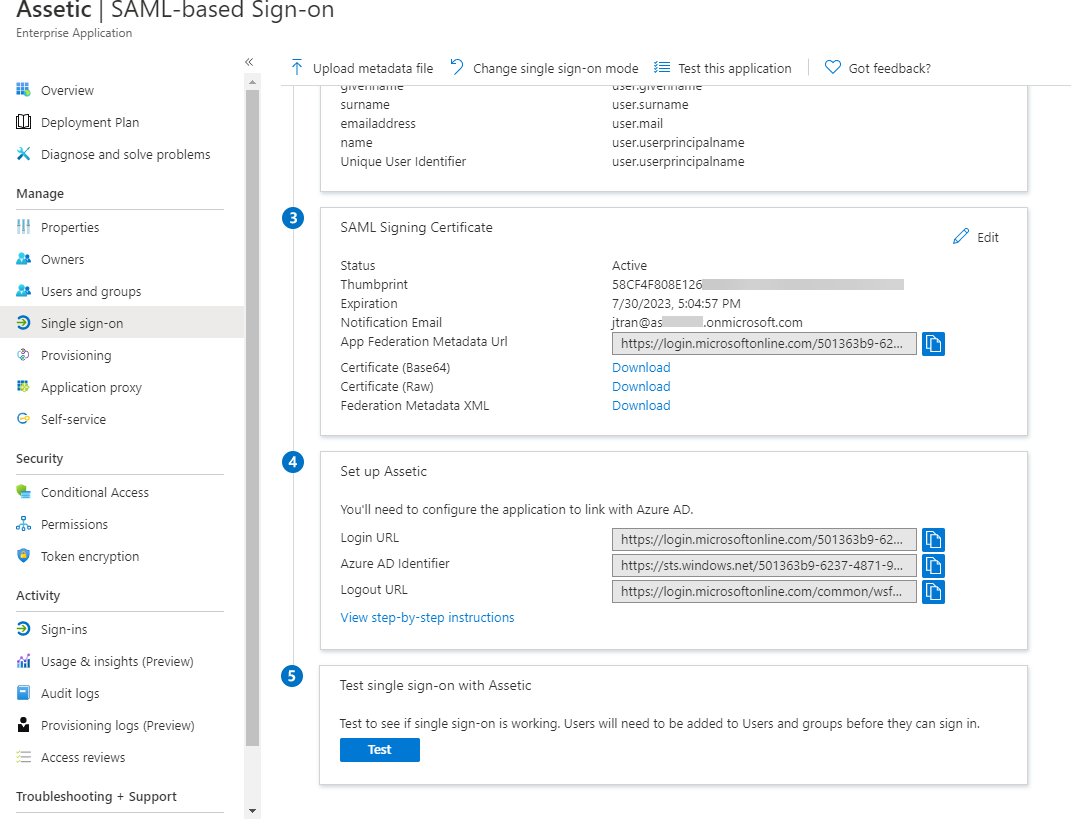
3.1 Download the Certificate (Base64) and save as a plain text file.
3.2 Login URL: Copy the value and save for later.
3.3 Azure AD Identifier: Copy the value and save for later.
3.4 Logout URL: Not required.
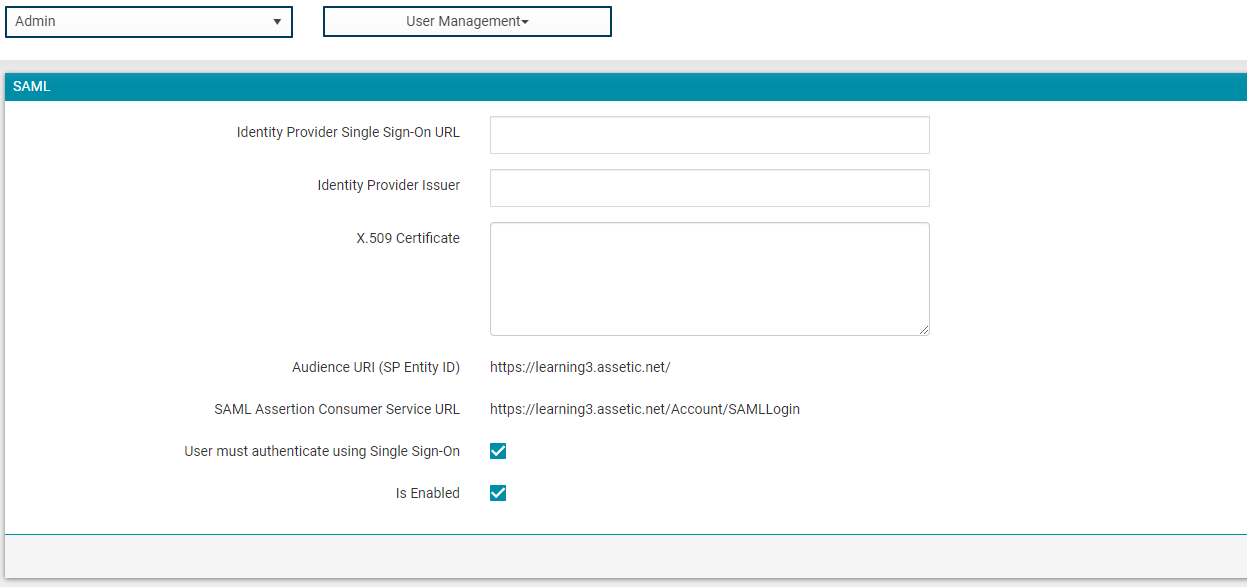
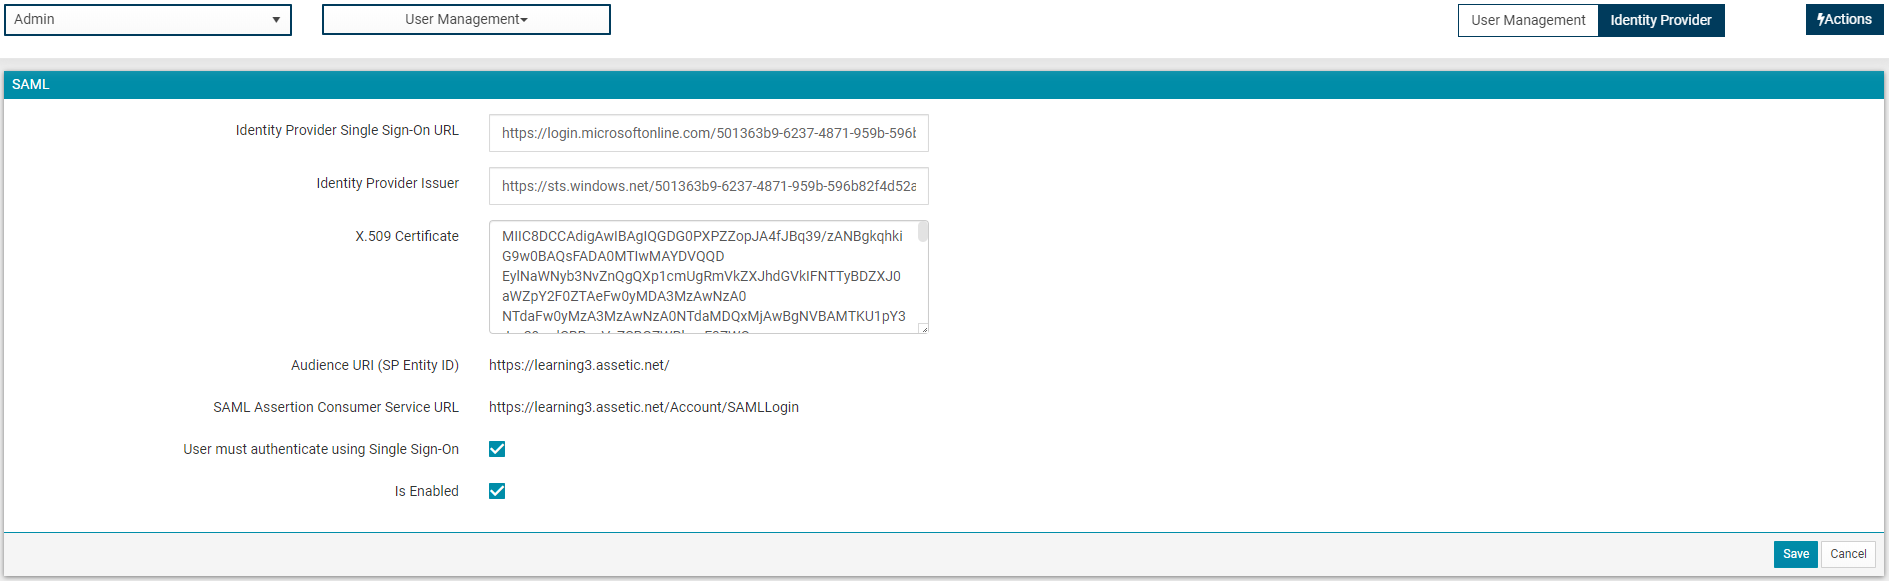
3.5 Populate the saved values previously into the empty fields. This is under Admin > User Management and under the 'Identity Provider' tab.
Login URL = Identity Provider Single Sign-On URL
Azure AD Identifier = Identity Provider Issuer
X.509 Certificate = Open the previously downloaded Certificate Base64 and open in notepad, select all the text between the BEGIN & END CERTIFICATE markers and copy into the X.509 Certificate box.
Ensure the 'Is Enabled' box is ticked.
3.6 Then go to 'Users and Groups' on the left.
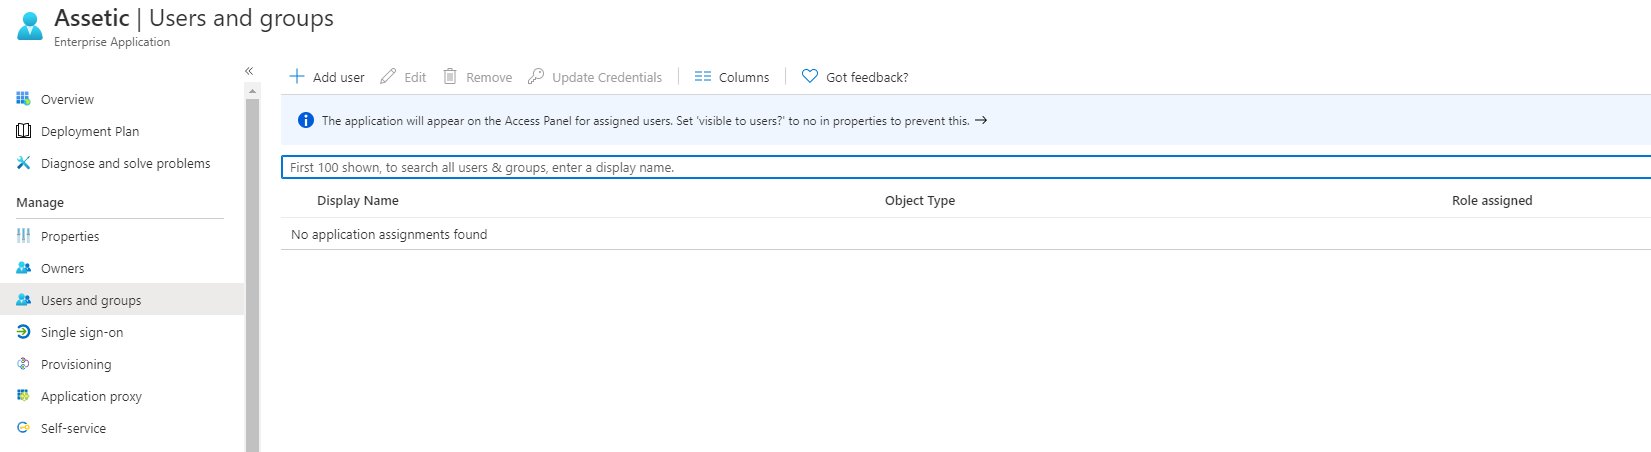
3.7 Click 'Add User' and then click on 'Users'.
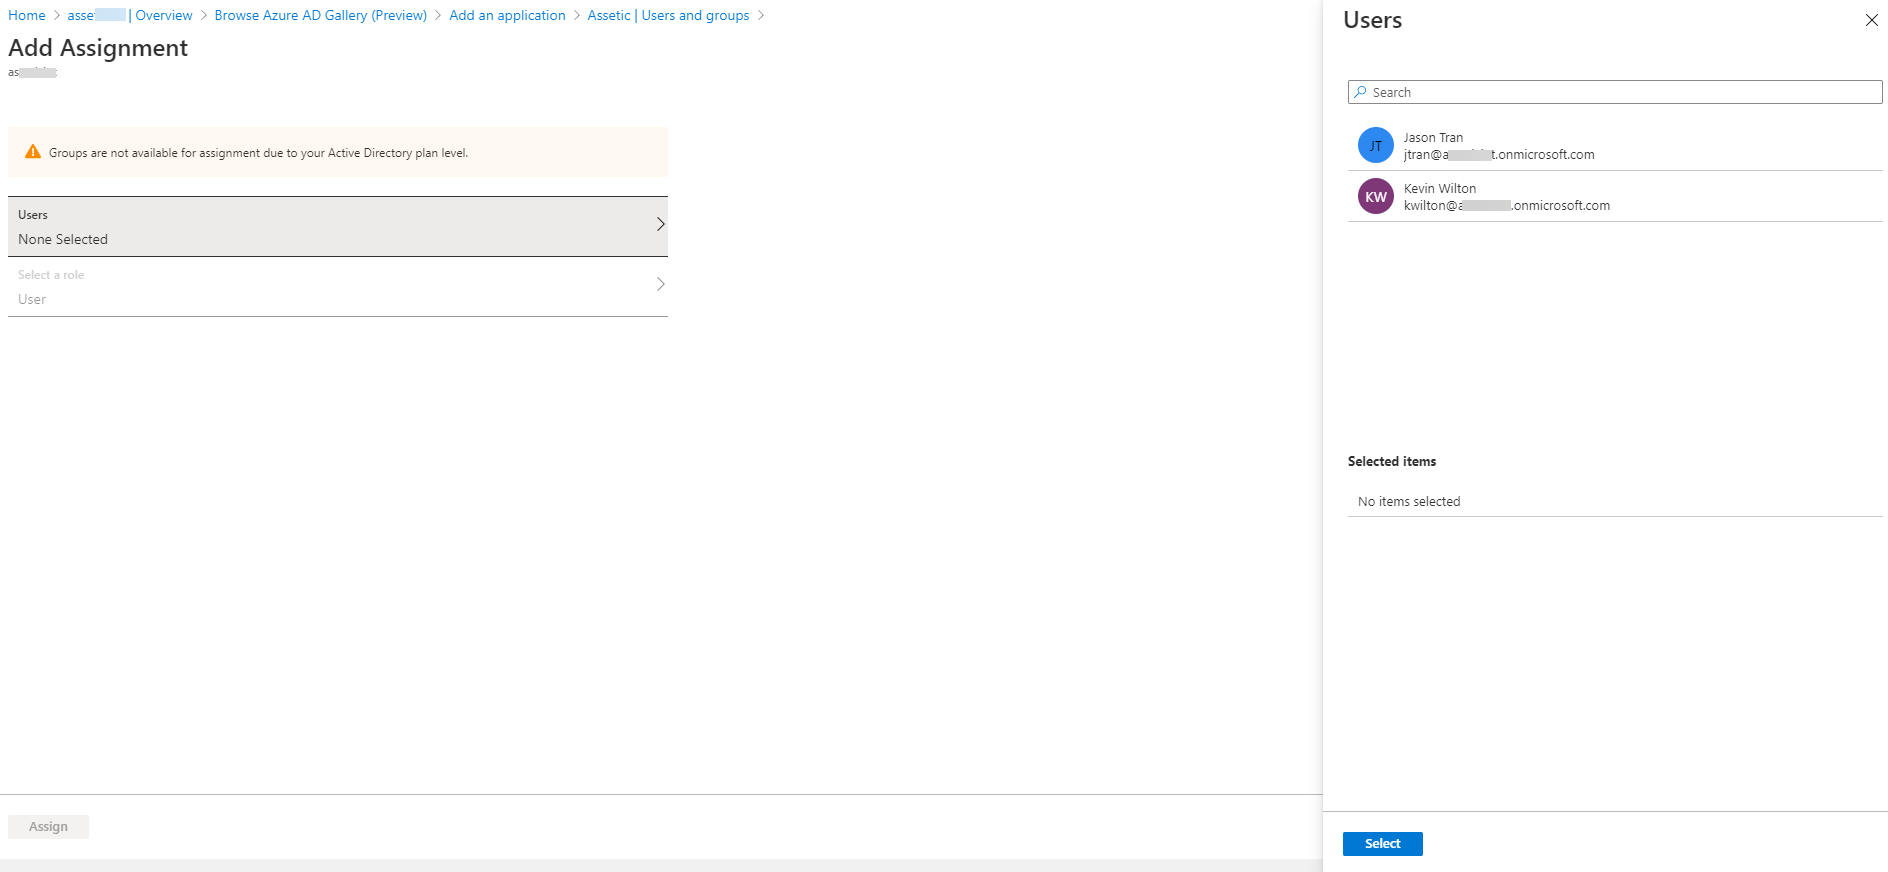
3.8 Select the users, then click 'Select' and then click 'Assign'.
3.9 Go back to 'Single sign-on' from the left pane.
3.10 Click Test and select 'Sign in as current user'.
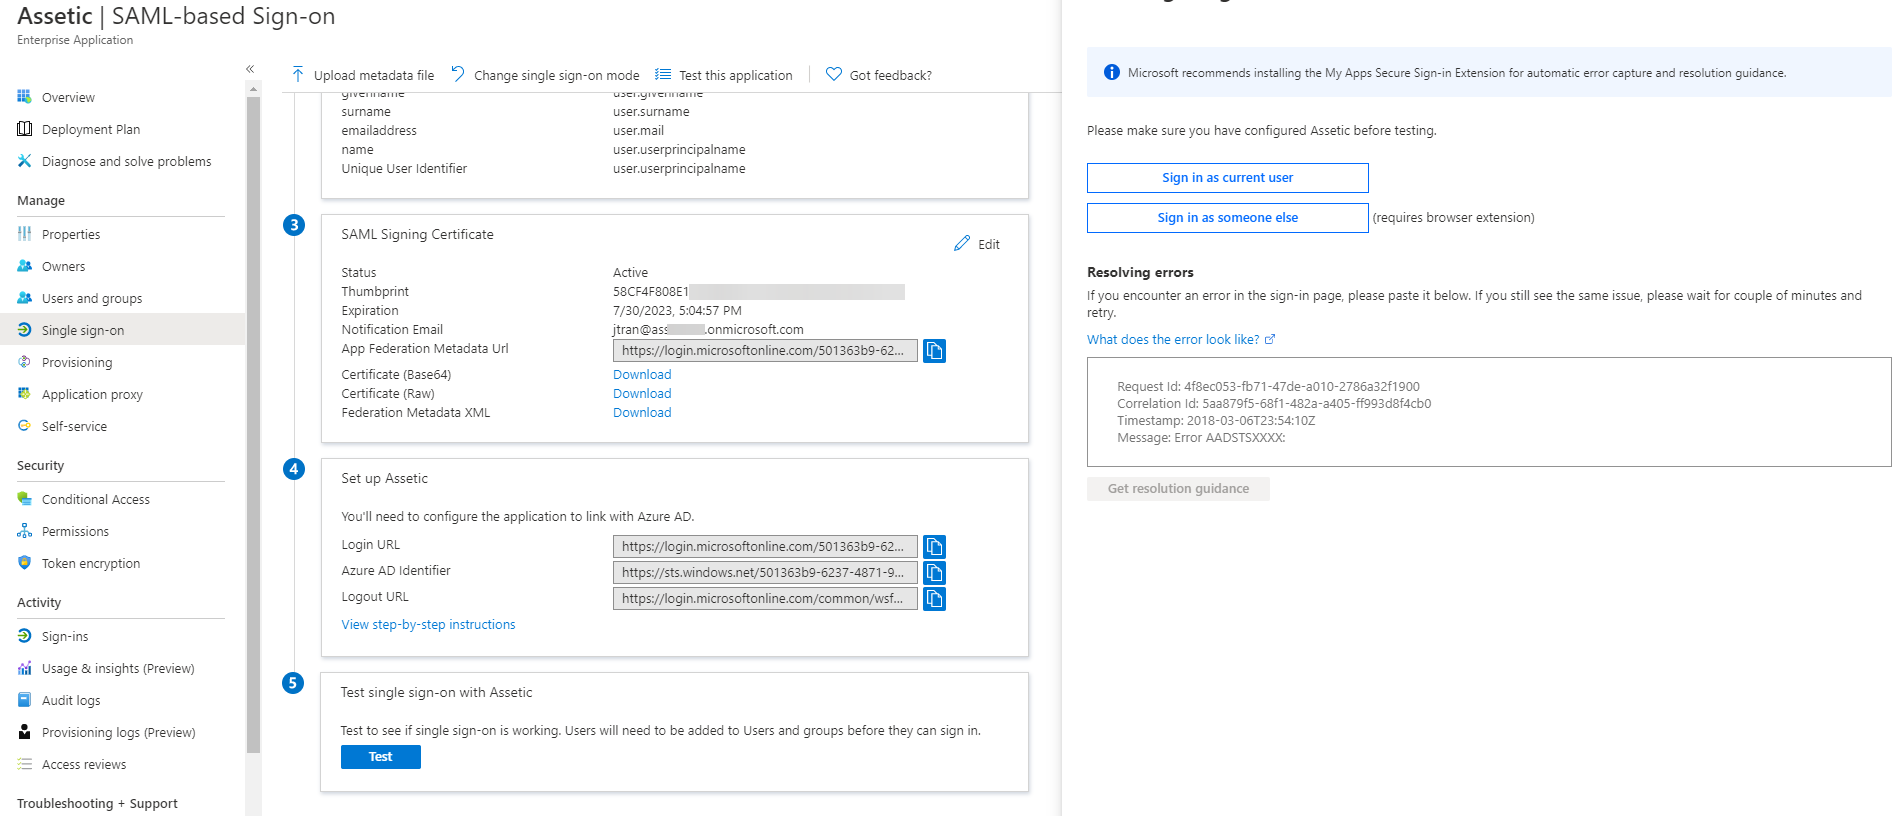
3.11 If successful, you will be logged into your organization's cloud environment. Otherwise, if you receive an error, please review the previous steps and ensure the Login URL, Identifier and the X.509 Certificate have been copied over correctly to match.
